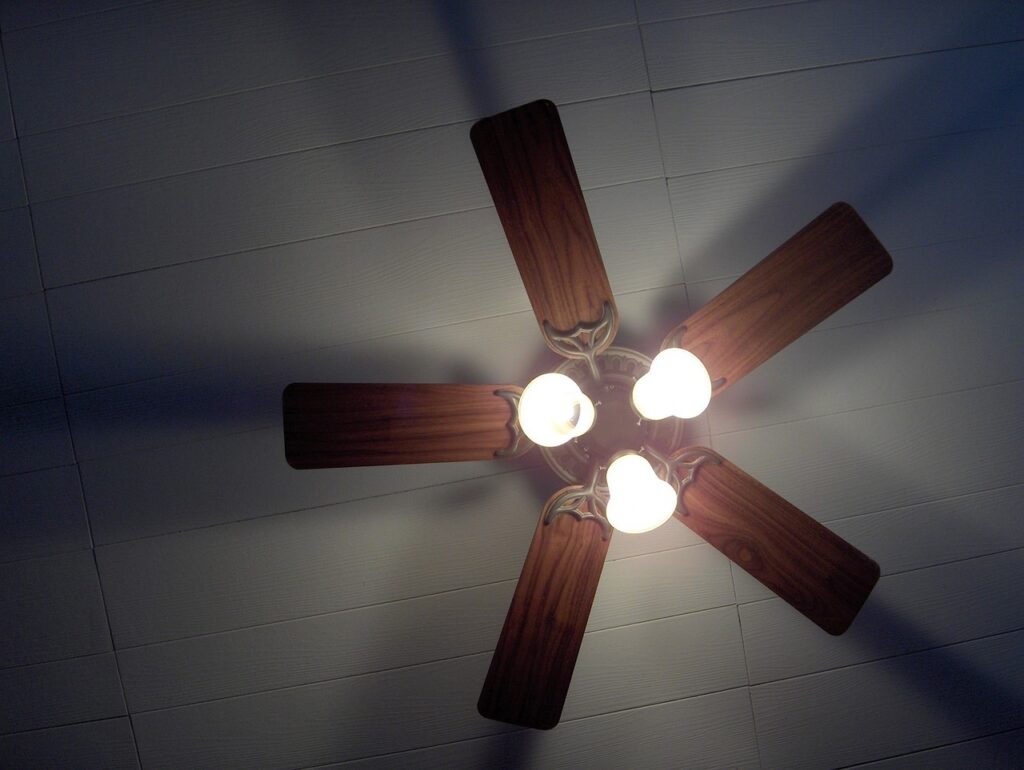
Ceiling fans are a popular addition to homes and can help keep the rooms cool and comfortable during the warm summer months. Installing a ceiling fan can seem daunting, but with the right tools and steps, it can be a simple and straightforward process. In this article, we will outline the steps to install a ceiling fan.
Step 1: Choose the location
The first step in installing a ceiling fan is to choose the location where it will be installed. Consider the size of the room and where the fan will be most effective. Ideally, the fan should be mounted in the center of the room, at least 7 feet above the floor, and have at least 18 inches of clearance between the blades and the walls.
Step 2: Assemble the fan
Before installing the fan, it is important to assemble it first. This includes attaching the blades to the motor, and any other accessories that may come with the fan, such as a light kit or a remote control. Follow the manufacturer’s instructions carefully during the assembly process.
Step 3: Turn off the power
Once the fan is assembled, turn off the power to the room at the circuit breaker. This will ensure that there is no risk of electrical shock during the installation process.
Step 4: Remove the old fixture
If there is an existing fixture in the location where the fan will be installed, remove it carefully. This will usually involve unscrewing the fixture from the ceiling and disconnecting the wiring. Make sure to keep track of which wires are connected to each other, as they will need to be reconnected to the new fan.
Step 5: Install the mounting bracket
The mounting bracket is the piece that will hold the fan to the ceiling. Follow the manufacturer’s instructions to install the bracket securely to the ceiling. Make sure the bracket is level and securely attached to the ceiling joist.
Step 6: Install the fan
Once the bracket is securely attached to the ceiling, it’s time to attach the fan. Most fans will come with a hook or a mounting plate that attaches to the bracket. Follow the manufacturer’s instructions to install the fan onto the mounting bracket. Make sure the fan is securely attached and level.
Step 7: Connect the wiring
Connect the wiring from the fan to the wiring in the ceiling. This will usually involve connecting the wires of the same color together (black to black, white to white, and green or bare to the ground wire). Follow the manufacturer’s instructions carefully and make sure the connections are secure.
Step 8: Attach the blades and any accessories
Once the wiring is connected, it’s time to attach the blades and any accessories that come with the fan, such as a light kit or remote control. Follow the manufacturer’s instructions carefully to attach these items securely.
Step 9: Turn on the power
Finally, turn on the power to the room at the circuit breaker and test the fan to make sure it is working properly. Make sure the blades are spinning in the correct direction for the season (usually counterclockwise in the summer and clockwise in the winter).
In conclusion, installing a ceiling fan can be a simple and straightforward process if you follow the manufacturer’s instructions carefully and take the necessary safety precautions. With the right tools and steps, you can enjoy a cool and comfortable room all summer long.

