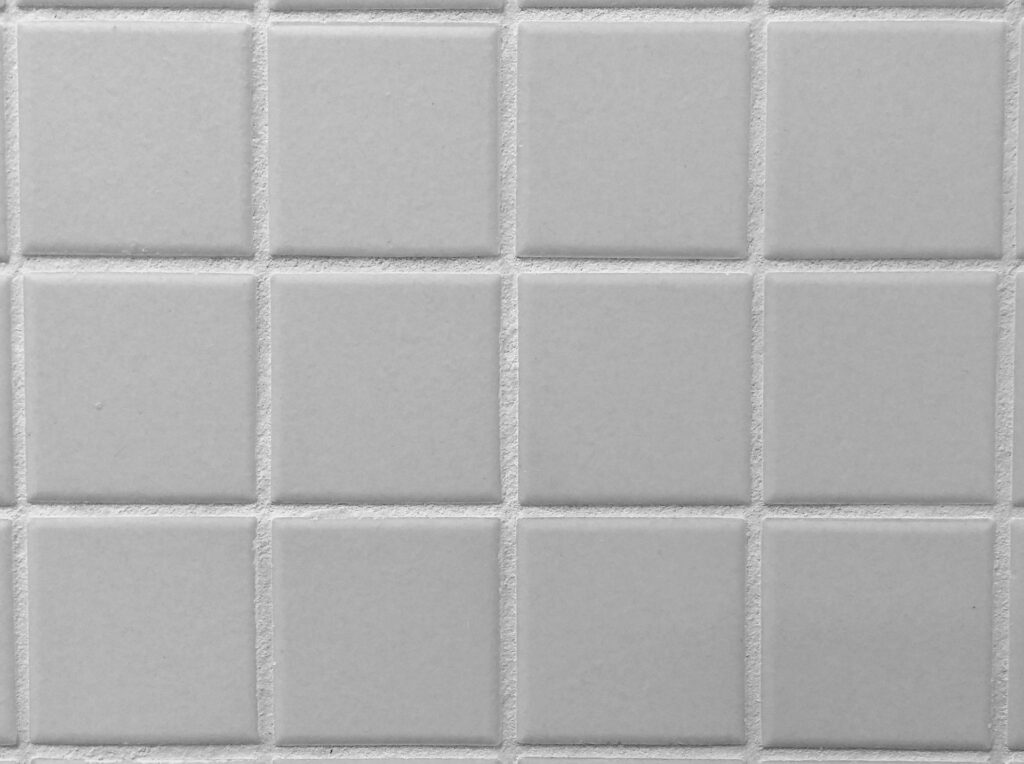
Tile grout is the material that fills the gaps between tiles to create a seamless surface. Over time, grout can become cracked or stained, which can detract from the overall appearance of a tiled surface. Fortunately, repairing tile grout is a simple process that can be completed in just a few steps. In this article, we will discuss the steps required to repair tile grout.
Step 1: Determine the Type of Grout
Before you can begin repairing tile grout, you must first determine the type of grout that was used. There are two types of grout: sanded and unsanded. Sanded grout is used for wider gaps between tiles, while unsanded grout is used for narrower gaps. You can easily determine the type of grout by measuring the gap between the tiles. If the gap is less than 1/8 inch, it is unsanded grout, and if it is greater than 1/8 inch, it is sanded grout.
Step 2: Remove the Damaged Grout
The next step is to remove the damaged grout. This can be done using a grout saw or a rotary tool with a grout removal attachment. Carefully scrape out the damaged grout, making sure not to damage the surrounding tiles. Be sure to wear eye protection and a dust mask while doing this, as grout dust can be harmful.
Step 3: Clean the Surface
Once the damaged grout has been removed, the surface should be thoroughly cleaned. Use a scrub brush and a mixture of water and vinegar to clean the area. Be sure to rinse the area with clean water and allow it to dry completely before moving on to the next step.
Step 4: Apply New Grout
Once the area is dry, it is time to apply new grout. Mix the grout according to the manufacturer’s instructions, and use a grout float to apply it to the gap between the tiles. Be sure to fill the gap completely, smoothing the grout as you go. Wipe away any excess grout with a damp sponge, being careful not to remove too much.
Step 5: Allow the Grout to Dry
After applying the grout, allow it to dry for at least 24 hours. Be sure to keep the area dry and avoid walking on the newly grouted area during this time.
Step 6: Seal the Grout
Once the grout has dried, it is important to seal it to prevent future damage. Apply a grout sealer according to the manufacturer’s instructions, making sure to cover all of the grout. Allow the sealer to dry completely before using the tiled surface.
In conclusion, repairing tile grout is a simple process that can be completed in just a few steps. By following these steps, you can restore the appearance of your tiled surface and prevent further damage to the grout. Remember to wear appropriate safety gear, including eye protection and a dust mask, when working with grout.

