")
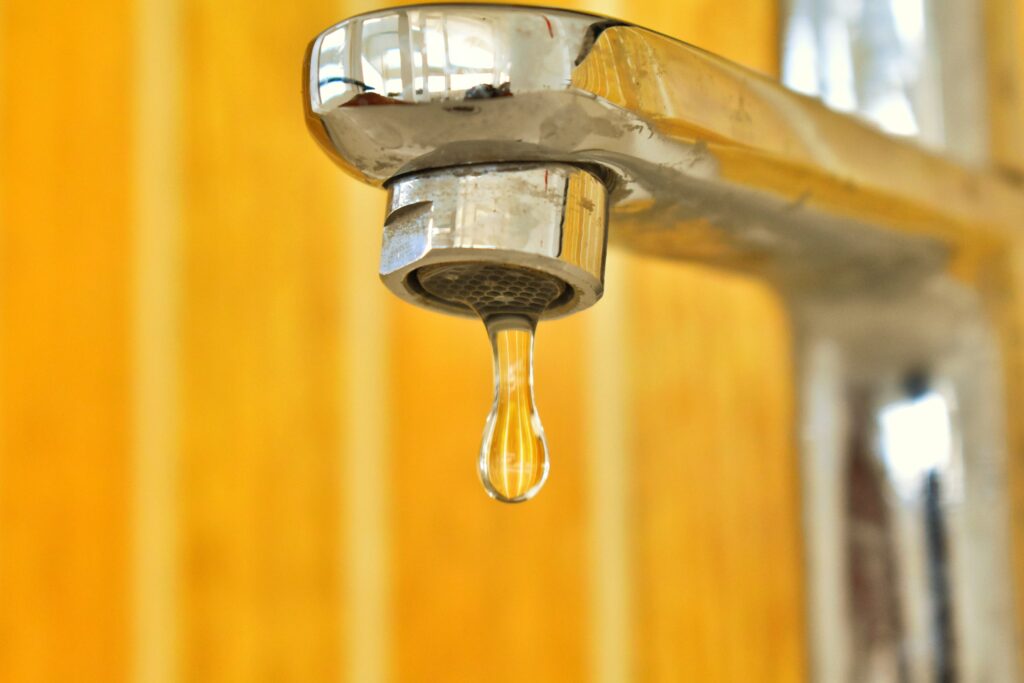
Replacing a faucet can be a quick and inexpensive way to upgrade your bathroom or kitchen. The process can be completed in just a few steps, and with the right tools, can be accomplished in under an hour.
Step 1: Prepare
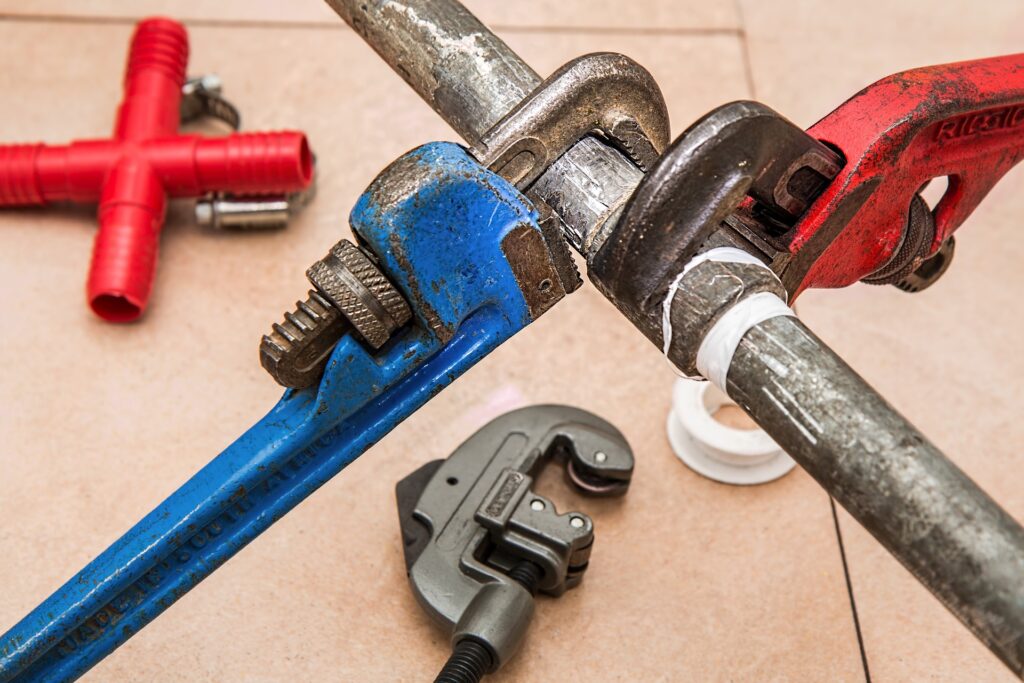
Before starting the replacement, turn off the water supply to the faucet and make sure there is no water pressure in the pipes. Place a bucket or cloth under the faucet to catch any drips. Next, gather all the tools you will need, including adjustable pliers, a basin wrench, a screwdriver, and Teflon tape.
Step 2: Remove the old faucet
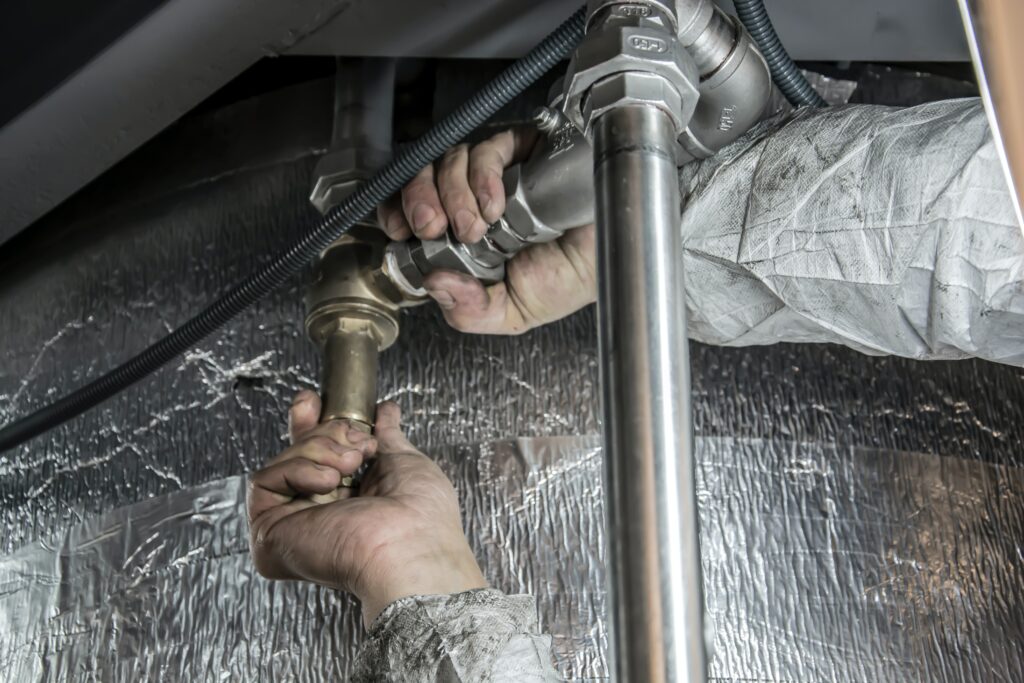
Start by removing the handles of the old faucet using a screwdriver. Then, using an adjustable wrench or pliers, loosen the nuts that connect the faucet to the sink. Once the nuts are removed, lift the old faucet off the sink and discard it.
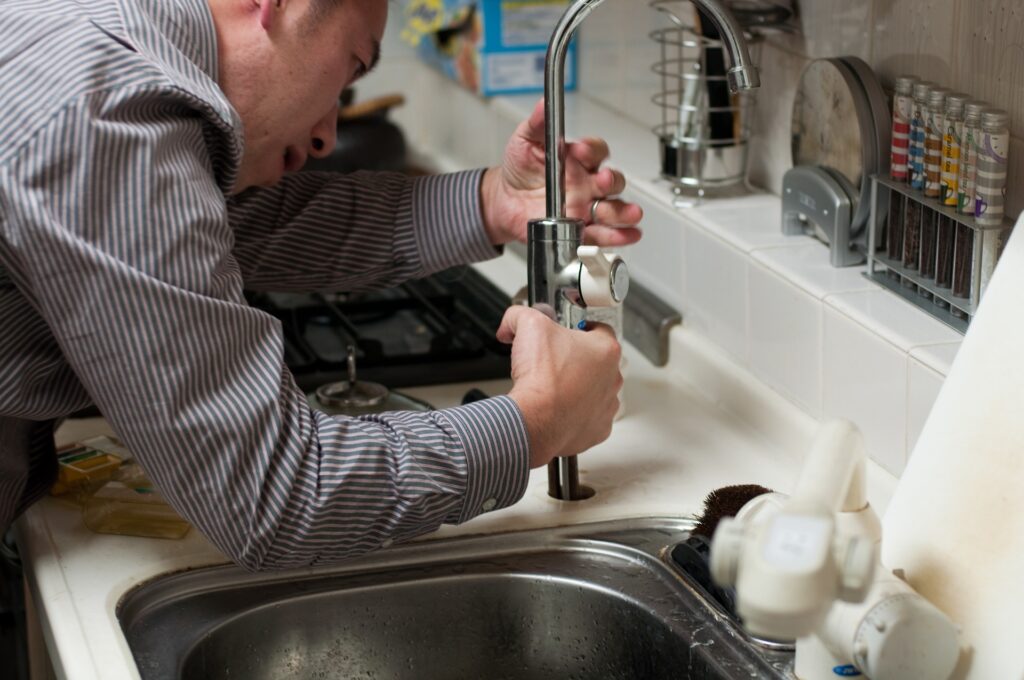
Step 3: Install the new faucet
Before installing the new faucet, apply Teflon tape to the threads of the supply lines. Then, attach the supply lines to the new faucet using the nuts that were removed from the old faucet. Next, attach the mounting nuts and washers to the bottom of the faucet and tighten them with a basin wrench.
Step 4: Connect the water supply
Connect the water supply to the faucet, making sure to tighten the connections with a wrench. Once the connections are secure, turn the water back on and check for any leaks.
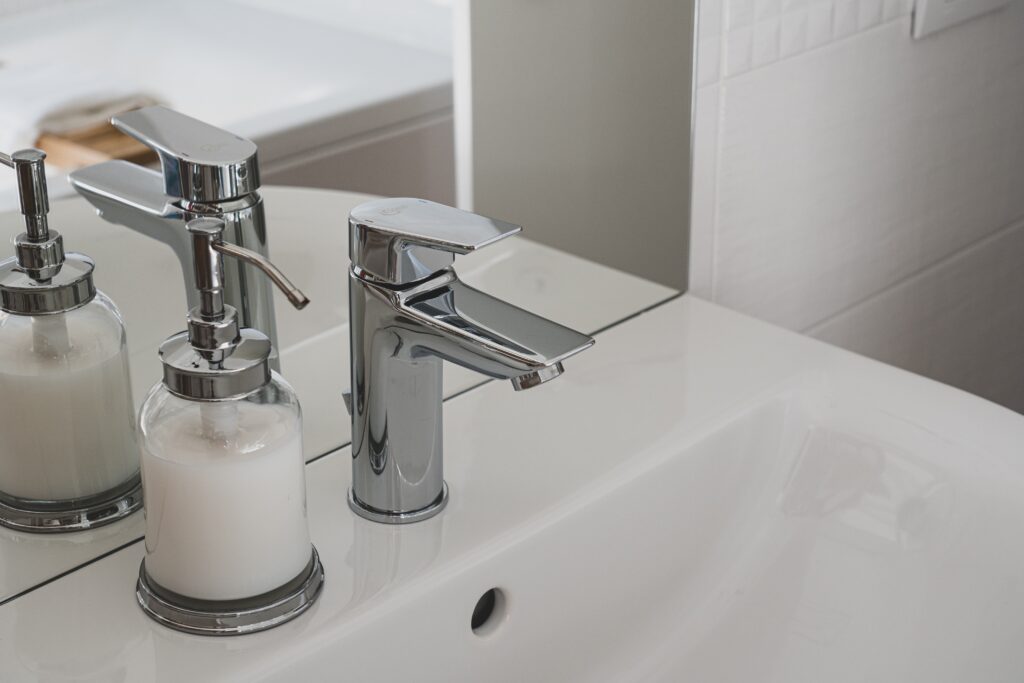
Step 5: Finish up
Install the handles and any other accessories that came with the new faucet. Turn the water on and let it run for a few minutes to flush out any debris. Finally, check for any leaks and tighten any connections as needed.
In conclusion, replacing a faucet is a straightforward process that can be completed by almost anyone with basic plumbing skills. Just remember to follow the manufacturer’s instructions, and to use Teflon tape to prevent leaks. With these tips, you should be able to successfully replace your faucet and enjoy your newly upgraded bathroom or kitchen.