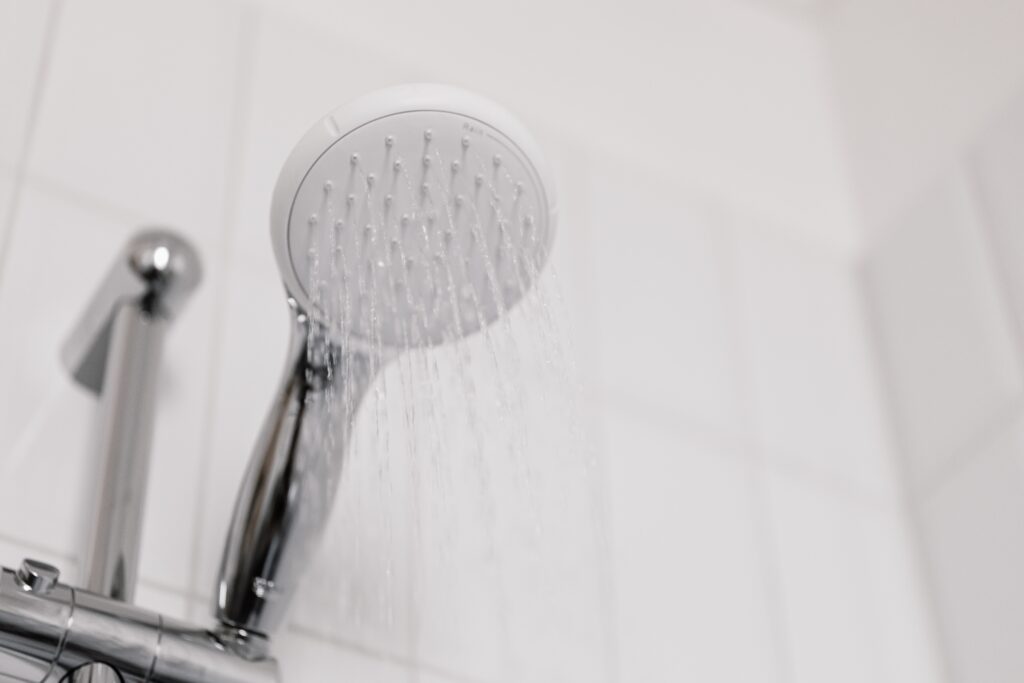
A shower is one of the most frequently used spaces in a house, and it’s essential to keep it in good condition to avoid water damage and leaks. Over time, cracks may appear in your shower due to various factors, such as age, wear and tear, or shifting foundations. These cracks can lead to water leaks, which can cause significant damage to your bathroom and home if left unattended. Here’s how you can seal shower cracks to prevent water damage and keep your bathroom in top condition.
Identify the cracks
The first step to sealing shower cracks is identifying where they are. Cracks can be visible or hidden, so it’s essential to inspect your shower thoroughly to ensure you seal every crack. Some common areas to check include the corners of the shower, around the showerhead, and the base of the shower.
Clean the area around the cracks
Before sealing the cracks, it’s essential to clean the area around them. Use a cleaning solution, such as vinegar or a commercial bathroom cleaner, to remove any dirt, grime, or soap scum around the cracks. This ensures that the sealant adheres well to the surface and helps prevent any future leaks.
Select the appropriate sealant
There are several types of sealants available in the market, including silicone, caulk, and grout. Each has its unique properties, so it’s essential to choose the appropriate one for your shower. Silicone sealant is ideal for areas that are exposed to moisture, such as the corners of the shower and around the showerhead. Caulk is suitable for areas that don’t come into direct contact with water, such as the base of the shower. Grout is ideal for filling in cracks between tiles.
Apply the sealant
Once you have selected the appropriate sealant, apply it to the cracks. If using silicone sealant, use a caulking gun to apply a smooth, even layer along the crack. Smooth out the sealant with your finger or a tool to ensure it adheres well to the surface. If using caulk, apply the sealant in a thin, even layer and use a caulk smoothing tool to ensure a smooth finish. If using grout, mix the grout according to the manufacturer’s instructions and apply it to the cracks using a grout float.
Allow the sealant to dry
After applying the sealant, allow it to dry completely before using the shower. This typically takes between 24 and 48 hours, depending on the type of sealant you used and the humidity levels in your bathroom. Be sure to read the manufacturer’s instructions for the recommended drying time.
In conclusion, sealing shower cracks is a simple yet essential task that can help prevent water damage and keep your bathroom in good condition. By following the steps outlined above, you can effectively seal any cracks in your shower and enjoy a leak-free shower experience.

