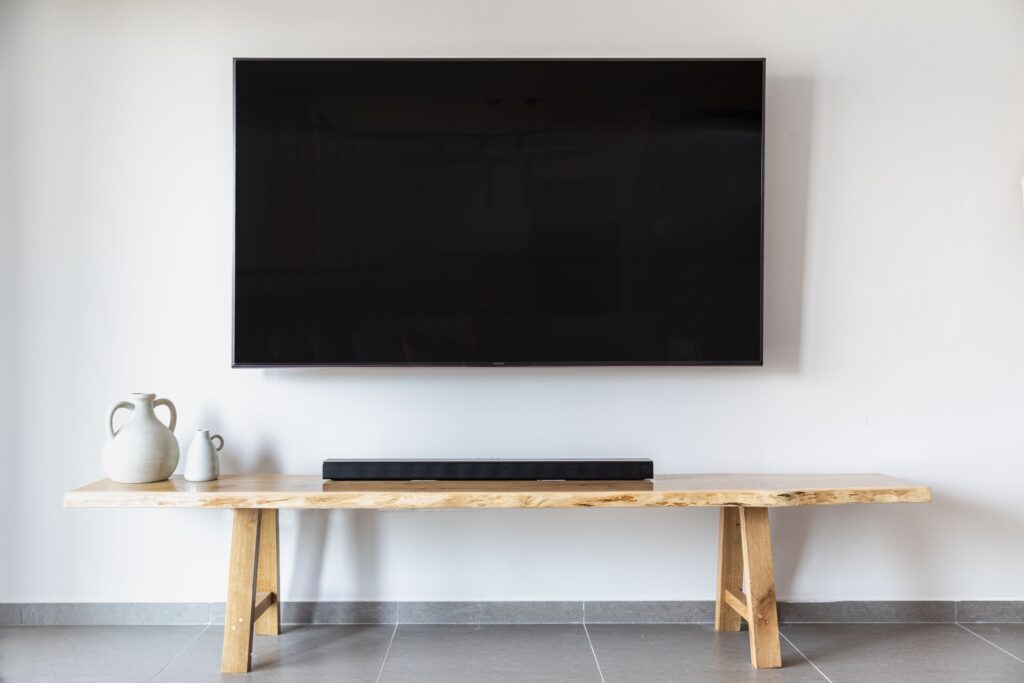
Wall-mounted TVs have become a popular choice for homeowners, providing a sleek and space-saving solution for your entertainment needs. Installing a flat-screen TV on your wall can transform your living space, creating a minimalist and modern look. However, it’s important to approach this DIY project with the right knowledge and tools. In this step-by-step guide, we will walk you through the process of mounting a flat-screen TV on your wall safely and securely.
Tools and Materials You’ll Need:
Before you begin, gather the necessary tools and materials:
- Flat-screen TV with wall-mounting brackets
- Wall mount kit (includes wall plate, brackets, and screws)
- Screwdriver and drill
- Level
- Stud finder
- Measuring tape
- Pencil
- Cable management system (optional)
Step 1: Choose the Right Location
The first step in mounting your TV is selecting the perfect spot on the wall. Consider the following factors:
- Eye level: Position the TV at eye level when seated for the best viewing experience.
- Stud placement: Use a stud finder to locate the wall studs. Mounting your TV on a stud provides the necessary support.
- Cable access: Ensure easy access to power outlets and cable connections.
Step 2: Assemble the Wall Mount
Follow the manufacturer’s instructions to assemble the wall mount kit. Typically, this involves attaching brackets to the back of the TV and the wall plate to the wall.
Step 3: Mark Your Wall
Hold the wall mount against the wall at your chosen location. Use a level to ensure it’s straight, and mark the positions of the screw holes on the wall with a pencil.
Step 4: Drill Pilot Holes
Using an appropriate drill bit, drill pilot holes into the wall at the marked locations. Ensure that the holes are slightly smaller than the screws provided in the wall mount kit.
Step 5: Attach the Wall Plate
Secure the wall plate to the wall by driving screws into the pilot holes. Make sure it’s level and firmly anchored to the wall.
Step 6: Attach Brackets to the TV
Attach the brackets to the back of your flat-screen TV following the manufacturer’s instructions. Be sure to use the appropriate screws provided.
Step 7: Hang the TV
With the help of a friend, carefully lift the TV and hook the brackets onto the wall plate. Ensure a secure fit.
Step 8: Cable Management
To keep your installation clean and organized, consider using a cable management system to hide cables and wires. This step is optional but can greatly improve the aesthetics of your setup.
Step 9: Test and Adjust
Once the TV is securely mounted, power it on and check the angle. Make any necessary adjustments to ensure the best viewing experience.
Step 10: Enjoy Your Wall-Mounted TV
With your TV securely mounted on the wall and all cables neatly managed, sit back, relax, and enjoy your new entertainment setup.
Mounting a flat-screen TV on your wall is a satisfying DIY project that can enhance your living space and improve your viewing experience. By following this step-by-step guide and ensuring the safety and security of your installation, you can enjoy a clutter-free, modern entertainment center that will impress family and friends. Remember to consult your TV and wall mount kit’s specific instructions for any unique requirements, and always prioritize safety during installation.

