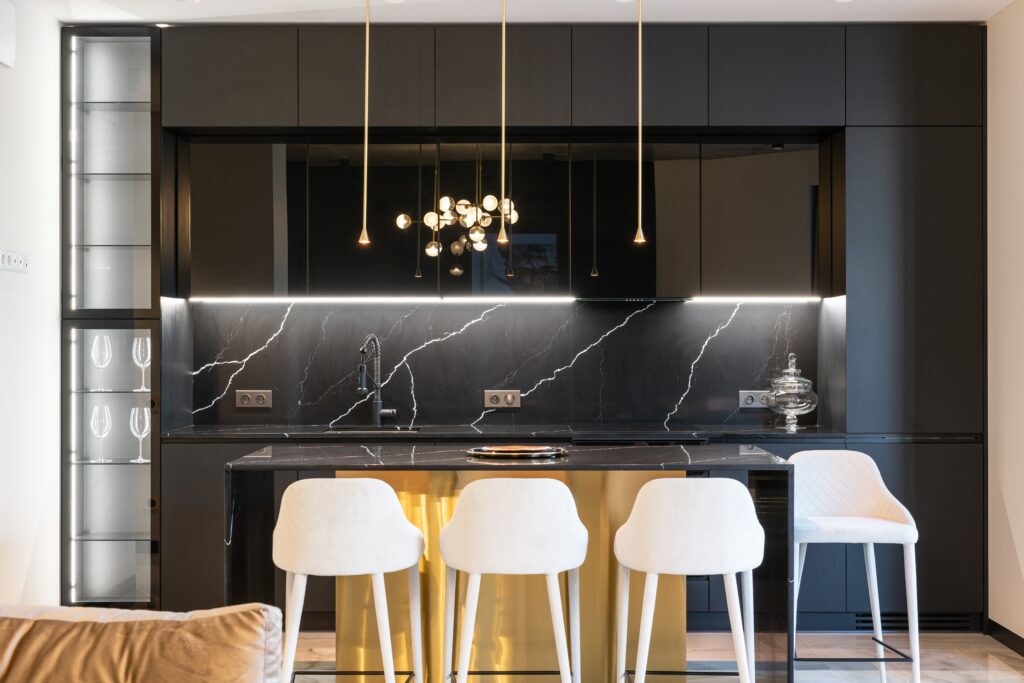
Good lighting can transform the ambiance of any space, and when it comes to your kitchen or workspace, under-cabinet lighting can make a world of difference. Whether you’re preparing a gourmet meal in the kitchen or working on a project in your home office, under-cabinet lighting provides both practical illumination and aesthetic appeal. In this tutorial, we’ll guide you through the process of installing under-cabinet lighting to enhance functionality and style in your home.
Tools and Materials
Before we dive into the installation process, let’s gather the tools and materials you’ll need for this project:
Tools:
- Screwdriver
- Pencil
- Wire stripper and cutter
- Drill
- Hole saw (if necessary)
- Level
Materials:
- Under-cabinet LED light fixtures
- Mounting brackets or clips
- Screws
- Electrical wire
- Wire connectors
- Electrical tape
- Power source (hardwired or plug-in)
- Switch or dimmer (optional)
Step 1: Plan Your Lighting Layout
Start by planning the layout of your under-cabinet lighting. Consider the size and shape of your cabinets, as well as any obstacles like pipes or ductwork. Measure the available space and determine the number of fixtures you’ll need to evenly light the area.
Step 2: Choose Your Lighting Fixtures
Select the type of under-cabinet lighting fixtures that suit your needs. LED light strips or puck lights are popular choices. LED lights are energy-efficient, long-lasting, and provide even illumination.
Step 3: Locate Power Source
Decide whether you want to hardwire the lights to your home’s electrical system or use a plug-in option. If hardwiring, locate the nearest electrical outlet or circuit for power. For plug-in lights, ensure there’s an accessible outlet nearby.
Step 4: Install Mounting Brackets or Clips
Using a level and pencil, mark the positions for your fixtures under the cabinets. Attach mounting brackets or clips to these marked spots. These will hold your lighting fixtures securely in place.
Step 5: Install the Fixtures
Securely attach the lighting fixtures to the mounting brackets or clips. Make sure they are level and evenly spaced for uniform lighting. If your cabinets have a lip or valance, you may need to use a hole saw to create an opening for the wires.
Step 6: Wiring
Follow these wiring steps:
a. Turn off the power to the circuit you’ll be working on at your home’s breaker box.
b. If hardwiring, run electrical wire from the power source to the first lighting fixture, and then daisy-chain the fixtures together using wire connectors. Ensure the wires are properly connected and insulated with electrical tape.
c. If using plug-in fixtures, simply plug them into the nearby outlet.
Step 7: Test the Lights
Turn the power back on and test the lights to ensure they are working correctly. If you’ve installed a switch or dimmer, test its functionality as well.
Step 8: Cleanup and Finishing Touches
Tuck any exposed wires neatly out of sight and secure them with clips or cable ties. Reattach any cabinet valances or lips you may have removed during installation.
Installing under-cabinet lighting is a rewarding DIY project that can enhance the functionality and aesthetics of your kitchen or workspace. With the right tools, materials, and a little patience, you can enjoy the benefits of well-lit countertops and a more inviting atmosphere. Whether you’re a culinary enthusiast or a dedicated worker, the improved lighting will make your space brighter and more enjoyable. So, illuminate your life by adding under-cabinet lighting today!

