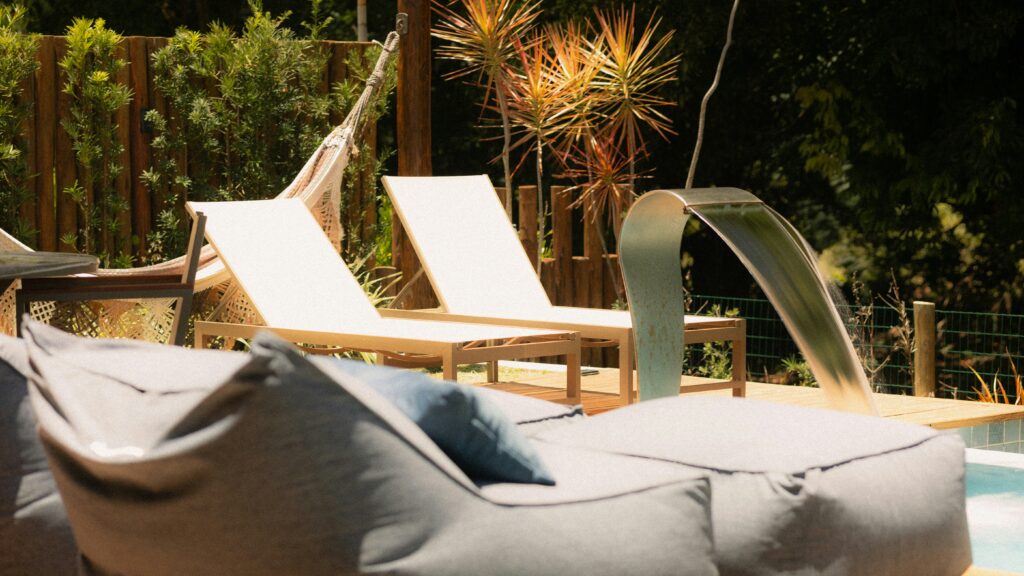
Kick Back in Style: How to Build Your Own DIY Outdoor Lounge Chair
There’s something special about relaxing outside—sun on your face, a cool drink in hand, and nowhere to be. However, great outdoor furniture can be quite expensive. The good news? You can build your own lounge chair that looks great, feels solid, and doesn’t break the bank. With a few basic tools, some sturdy wood, and a free weekend, you’ll have a custom-made piece that’s built to last.
What You’ll Need:
Materials:
- 6–8 pieces of 2×4 lumber (about 8 feet long)
- Wood screws (2½-inch)
- Sandpaper (medium and fine grit)
- Outdoor wood stain or paint
- Cushion or foam pad (optional but worth it)
Tools:
- Measuring tape
- Saw (circular or hand saw)
- Drill
- Paintbrush or rag for stain
Step 1: Plan Your Design
Decide how long and wide you want the chair to be. A standard lounge chair is about 6 feet long and 2 feet wide, but you can tweak that for comfort. Sketch it out—seat, backrest, and legs. A simple slanted back gives it that laid-back feel.
Step 2: Cut the Wood
Measure twice, cut once. You’ll need:
- 2 long side rails for the frame
- 5–6 slats for the seat
- 3–4 slats for the backrest
- 4 legs (two slightly taller ones for the back so the chair reclines a bit)
Smooth the edges with sandpaper so you don’t end up with splinters later.
Step 3: Build the Frame
Lay out your side rails parallel to each other, and attach shorter boards across the ends to form a rectangle. This will be your seat base. Drill pilot holes before screwing things together to keep the wood from splitting.
Step 4: Add the Slats
Evenly space the seat slats across the frame and screw them down. Keep small gaps between each slat for drainage—especially if your chair will live outdoors full-time.
For the backrest, attach slats to two vertical supports. You can adjust the angle before you lock it in place—about 100 to 110 degrees is a good recline.
Step 5: Attach the Backrest
Screw the backrest supports to the rear of the seat frame. Test the angle before you tighten everything down. Sit on it, lean back, make sure it feels right. Adjust if needed.
Step 6: Sand and Finish
Sand the whole chair smooth, then brush on your favorite outdoor stain or paint. This step not only adds color—it also protects your wood from rain and sun damage. Let it dry fully before adding cushions.
Step 7: Add Comfort
Top it off with a weather-resistant cushion or pad. You can make one yourself or grab a ready-made outdoor cushion that fits your measurements.
And there you have it—a simple, sturdy lounge chair you built with your own hands. It’s functional, it’s personal, and every time you stretch out on it, you’ll feel that extra bit of pride knowing you made it yourself. So grab your favorite drink, head outside, and put your new chair to work.

