")
Level It Out: A Beginner’s Guide to Building a Concrete Walkway Ramp
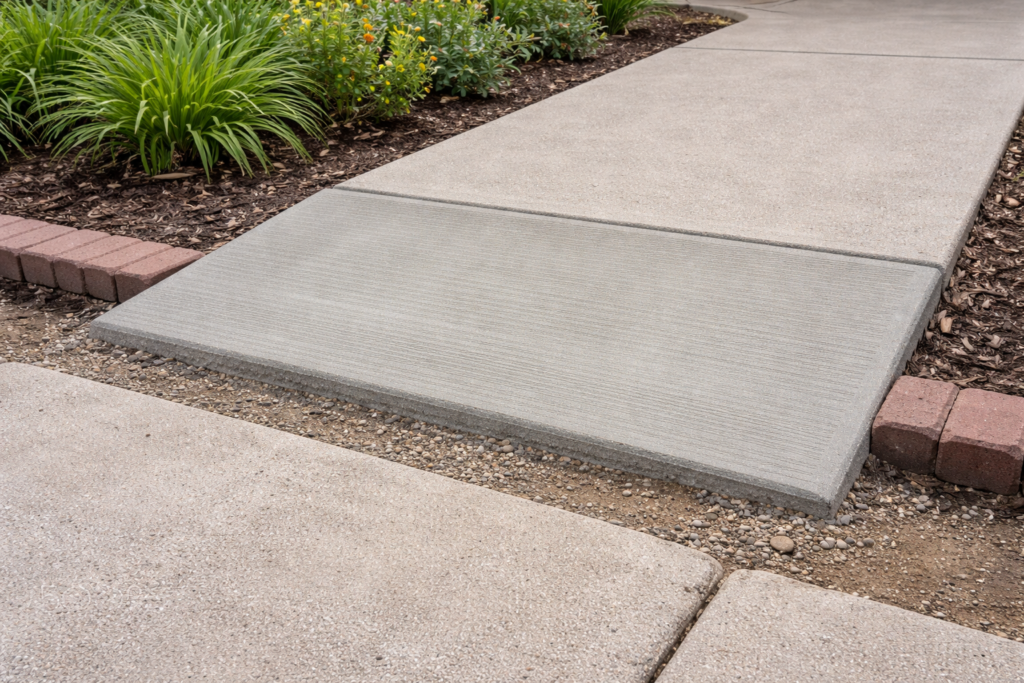
An uneven walkway edge may not seem like a big deal. But it can cause trips, make it hard to roll a bike or stroller through, and slowly get worse over time.
The good news? You can fix it yourself.
Building a small concrete ramp over an uneven edge is a simple weekend project. With the right tools and a little patience, you can create a smooth transition that looks clean and lasts for years.
Here’s exactly how to do it.
Why Add a Concrete Ramp?
Before we get into the steps, let’s talk about why this matters.
A small ramp can:
-
Prevent trips and falls
-
Make it easier to roll trash bins, bikes, or strollers
-
Improve drainage in some cases
-
Make your walkway look more finished
If the height difference is small, usually 1 to 3 inches, a concrete ramp works well. Anything larger may need a different solution.
Tools and Materials You’ll Need
Keep it simple. Here’s what most homeowners use:
Tools:
-
Shovel
-
Hand tamper
-
Level
-
Tape measure
-
Trowel
-
Bucket or mixing tub
-
Drill with mixing paddle (optional but helpful)
Materials:
-
Concrete mix (fast-setting works well for small jobs)
-
Gravel
-
Wooden boards for forms
-
Screws or stakes
-
Water
You don’t need fancy equipment. Just basic tools and steady hands.
Step 1: Clean and Prep the Area
Start by clearing everything away from the walkway edge.
Remove loose dirt, grass, or broken concrete. Use a shovel to dig out a small area where the ramp will sit. You want a solid base, not soft soil.
Dig down about 3 to 4 inches to allow space for gravel and concrete.
If the existing concrete edge is smooth, rough it up with a hammer and chisel. This helps the new concrete stick better.
Step 2: Add a Gravel Base
Pour about 2 inches of gravel into the dug-out area.
Spread it evenly and use a hand tamper to pack it down firmly. A solid base prevents cracks later. Take your time here. If the base shifts, the ramp will too.
Check with a level to make sure it’s even.
Step 3: Build a Simple Form
Forms hold the wet concrete in place while it sets.
Use scrap wood to create the shape of the ramp. The form should:
-
Sit tightly against the existing walkway
-
Slope gently down to ground level
-
Be straight and level from side to side
Secure the boards with stakes or screws so they don’t move when you pour.
Keep the slope gradual. A gentle incline is safer and looks better.
Step 4: Mix and Pour the Concrete
Follow the instructions on your concrete mix bag. Add water slowly. You want a thick but workable mix, not watery soup.
Pour the concrete into the form.
Use a shovel to spread it evenly. Make sure it fills all corners.
Step 5: Shape and Smooth the Ramp
This is where you take your time.
Use a trowel to shape the surface into a smooth slope. Start at the top where it meets the existing walkway and work downward.
Blend the new concrete into the old edge so there isn’t a sharp seam.
Run the trowel lightly over the surface to smooth it out. If you want a bit of texture for grip, lightly brush the surface with a broom before it sets.
Check the slope with a level as you go.
Step 6: Let It Cure
Concrete needs time to harden.
Leave the form in place for at least 24 hours, or longer if the weather is cool. Avoid stepping on it during this time.
After removing the forms, let the ramp cure for several days before putting heavy weight on it.
If it’s hot outside, lightly mist the surface with water during the first day to help prevent cracking.
Common Mistakes to Avoid
A few small mistakes can lead to cracks or poor results.
-
Skipping the gravel base
-
Making the slope too steep
-
Adding too much water to the mix
-
Rushing the curing time
Go slow. Most problems happen when people try to hurry the job.
Final Thoughts
Building a small concrete ramp over an uneven walkway edge is one of those projects that makes a big difference with little effort.
It improves safety. It looks cleaner. And it saves you from daily frustration.
If the height difference is small and the base is stable, this is a practical DIY project most homeowners can handle in a day.
Take your time with prep work, keep the slope gentle, and let the concrete cure properly. Do that, and you’ll have a smooth, solid ramp that lasts for years.