")
Make Space the Smart Way: A Simple DIY Microwave Shelf Project
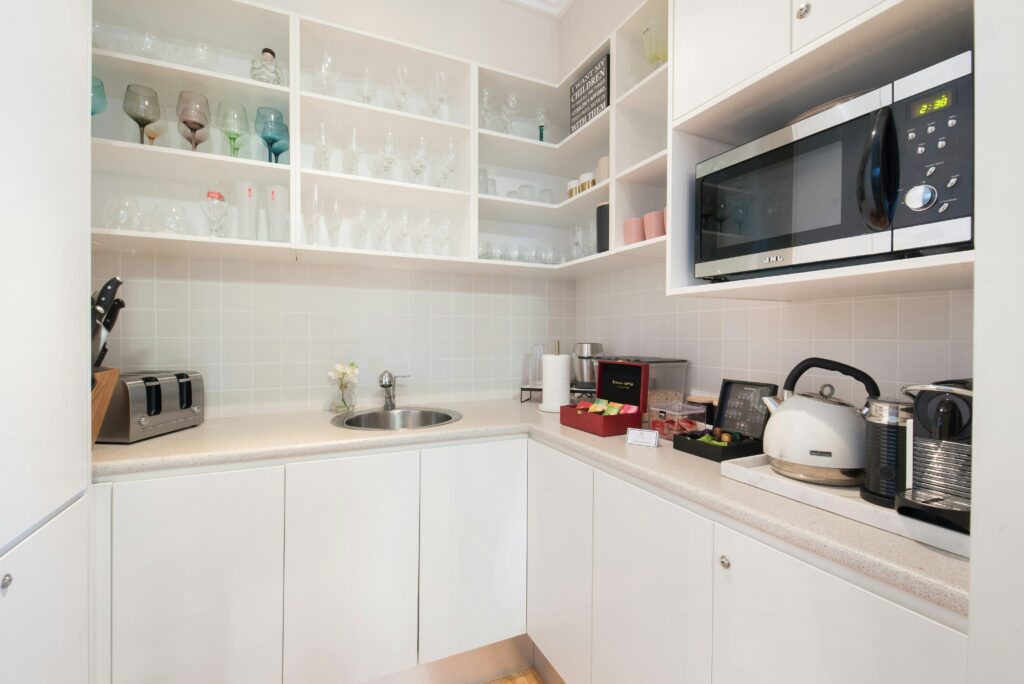
If your kitchen counter is feeling crowded, you’re not alone. The microwave is one of the biggest space hogs in most homes—but it doesn’t have to be. Building a built-in microwave shelf is an easy weekend project that can make your kitchen look cleaner, more organized, and more custom without spending a fortune. You don’t need to be a pro carpenter to pull it off—just a few tools, some basic materials, and a bit of patience.
What You’ll Need
Tools:
- Tape measure
- Level
- Drill
- Stud finder
- Screwdriver
- Saw (if cutting wood to size)
Materials:
- Wood shelf or plywood (cut to fit your microwave)
- L-brackets or heavy-duty shelf brackets
- Screws
- Paint or stain (optional)
Step 1: Pick the Right Spot
Start by deciding where your microwave should go. Look for a spot near an outlet, ideally between cabinets or above a countertop. Ensure there’s sufficient ventilation space around the unit—most microwaves require at least a few inches of clearance on all sides and at the back.
Step 2: Measure Twice, Cut Once
Measure the width, depth, and height of your microwave. Then, add an inch or two of breathing room on each side. Cut your wood shelf to fit, or have it done at the hardware store.
Step 3: Find the Studs
Use a stud finder to locate the studs in the wall where your shelf will hang. Mark them lightly with a pencil. These are what will hold the weight of the microwave safely—don’t skip this step.
Step 4: Install the Brackets
Line up your brackets on the wall, making sure they’re level and anchored into the studs. Drill pilot holes first, then screw in the brackets tightly. Test the stability before adding the shelf.
Step 5: Add the Shelf
Place your shelf on top of the brackets and secure it with screws. Make sure it’s level and doesn’t wobble. If you’re feeling creative, paint or stain the wood to match your cabinets for a built-in look.
Step 6: Set the Microwave
Carefully place your microwave on the shelf and plug it in. Double-check that it’s steady and that the cord isn’t pulled tight.
Bonus Tip: Hide the Cord
If you want a cleaner look, use a cord cover or route the cord through the back of a cabinet. It’s a small detail that makes a big difference.
Building your own built-in microwave shelf is one of those simple projects that pays off big. You’ll gain counter space, give your kitchen a tidy upgrade, and feel good knowing you did it yourself. No fancy tools or expensive materials needed—just a bit of effort and the right steps.