")
Make Your Basement Stairs Safer with This Easy Handrail Installation Guide
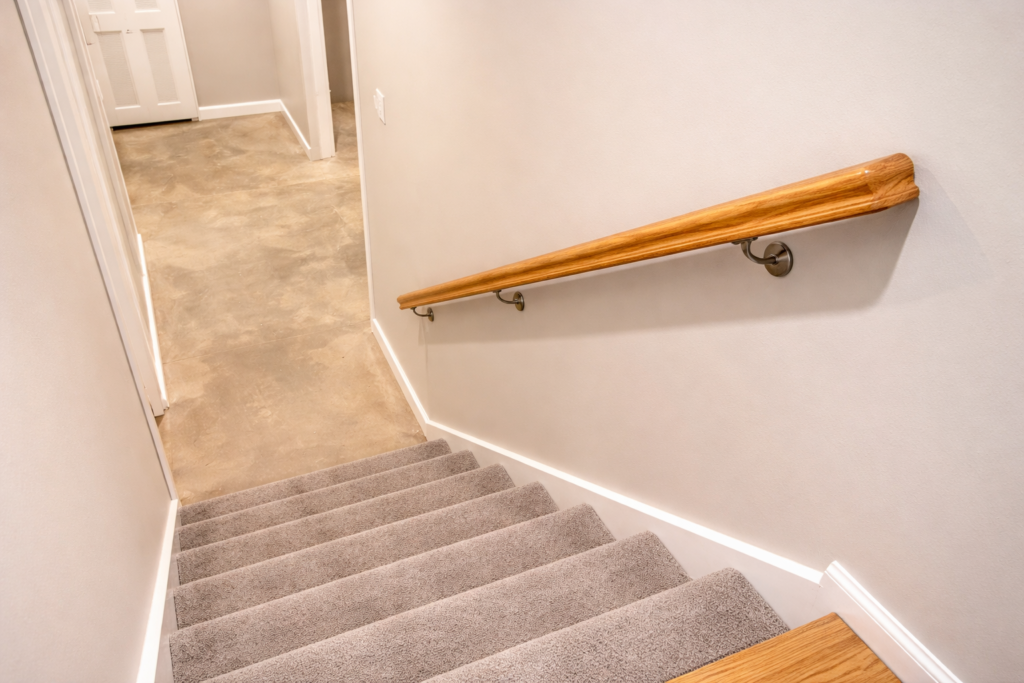
Basement stairs are often steep, narrow, and poorly lit. That makes them one of the most common places for slips and falls in a home. A sturdy handrail can make a big difference.
The good news? Installing a basement stair handrail is a project most homeowners can handle in a few hours with basic tools.
In this guide, I’ll walk you through the process step by step so you can install a secure, reliable handrail that keeps your household safe.
Why Basement Stair Handrails Matter
Before we jump into the steps, here’s why this project is worth your time:
-
Safety: Handrails reduce the risk of slips and falls.
-
Code compliance: Most local building codes require a handrail for stairs with four or more risers.
-
Home value: Finished and safe stairs make your home more appealing to buyers.
-
Peace of mind: Especially important if you have kids, older adults, or guests.
If your basement stairs feel shaky or unsafe, adding a handrail is one of the smartest upgrades you can make.
Tools and Materials You’ll Need
Here’s a simple checklist:
-
Handrail (wood or metal)
-
Handrail brackets
-
Screws (usually included with brackets)
-
Drill and drill bits
-
Stud finder
-
Level
-
Measuring tape
-
Pencil
-
Saw (if cutting the rail to length)
-
Sandpaper (for wood rails)
Tip: Choose a handrail that feels comfortable to grip. Rounded edges are usually easier to hold than square ones.
Step 1: Measure the Stair Slope
Start by measuring the length of your stair run.
-
Place your measuring tape at the bottom stair nosing (the front edge of the step).
-
Extend it along the angle of the stairs to the top step.
-
Write down the measurement.
This gives you the length your handrail should be. If needed, cut the rail to size and sand the edges smooth.
Step 2: Mark the Proper Handrail Height
Most building codes require handrails to be installed 34 to 38 inches above the stair nosing. Check your local code to be sure.
To mark the height:
-
Measure up from the front edge of a stair step.
-
Make a small pencil mark at 34–38 inches.
-
Repeat near the top of the stairs.
-
Use a level or straight board to connect the marks along the stair angle.
This line will guide your bracket placement.
Step 3: Locate the Wall Studs
Handrails must be anchored into wall studs, not just drywall.
-
Use a stud finder along the marked line.
-
Mark each stud location lightly with a pencil.
-
You’ll want a bracket every 4 feet or so, and one near each end of the rail.
If you skip this step and screw into drywall only, the rail won’t hold under weight.
Step 4: Install the Handrail Brackets
Now it’s time to mount the brackets.
-
Hold the first bracket against a stud on your marked height line.
-
Drill pilot holes to prevent splitting.
-
Secure the bracket with screws.
-
Repeat for the remaining brackets.
Use a level as you go to keep everything lined up properly.
Step 5: Attach the Handrail
With the brackets secured:
-
Set the handrail on top of the brackets.
-
Make sure it sits evenly and follows the stair slope.
-
Drive screws through the bottom of each bracket into the rail.
Give the rail a firm tug when you’re done. It should feel solid and steady.
Optional: Finishing Touches
If you’re using a wood handrail:
-
Sand rough spots.
-
Apply stain or paint to match your space.
-
Seal with a clear finish for durability.
For metal rails, simply wipe down the surface and check that all fasteners are tight.
Common Mistakes to Avoid
Here are a few things that can cause problems:
-
Mounting into drywall instead of studs
-
Installing the rail too high or too low
-
Skipping pilot holes and splitting the wood
-
Using too few brackets
Take your time with measuring. A few extra minutes at the start can save you from redoing the job.
When to Call a Professional
If your basement walls are concrete or brick, installation may require masonry anchors and a hammer drill. If you’re unsure about local building code requirements, it’s smart to consult a contractor.
There’s no shame in getting help if the setup feels outside your comfort zone.
Final Thoughts: A Small Upgrade That Makes a Big Difference
Installing a basement stair handrail is one of those projects that’s simple but meaningful. It doesn’t just improve how your stairs look. It makes your home safer every single day.
With the right tools and careful measuring, you can complete this project in an afternoon. And once it’s done, you’ll wonder why you didn’t install one sooner.
If you’re tackling other basement upgrades, safety improvements are always a great place to start.