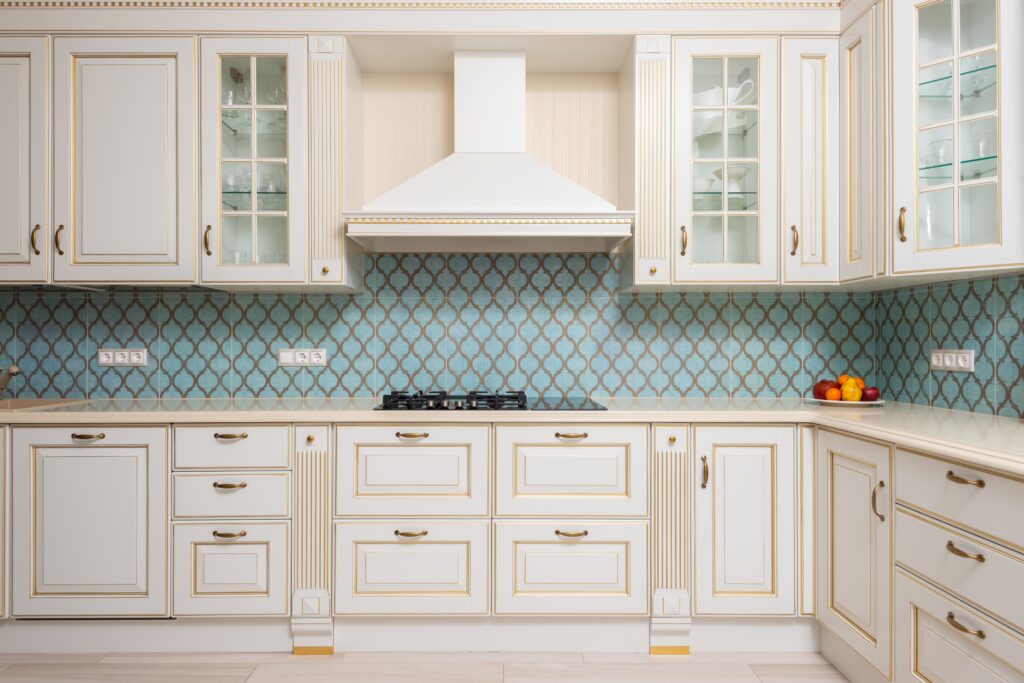
If you’re looking to update your kitchen without spending a fortune, repainting your cabinets is a great place to start. With a little time, effort, and patience, you can have a fresh new look in no time. Here’s how to get the job done.
Step 1: Prepare the Surface
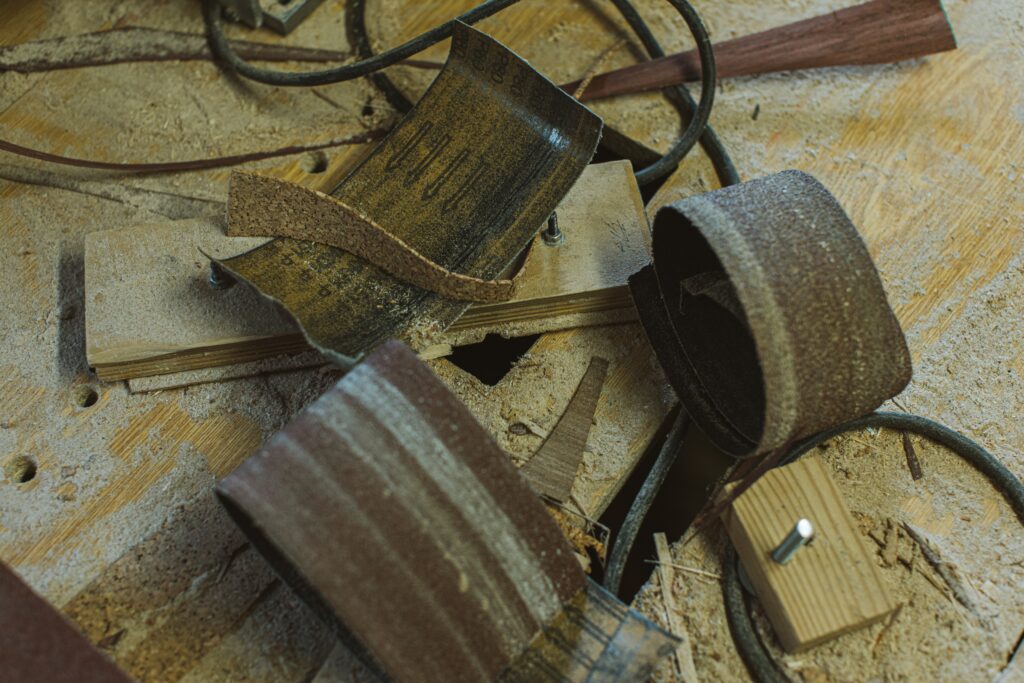
Remove the cabinet doors and hardware, then clean the surfaces thoroughly. Use a deglosser or sandpaper to rough up the existing finish so that the primer will adhere properly.
Step 2: Fill in any Imperfections

Use wood filler to fill any cracks, dents, or holes in the surface. Let the filler dry completely, then sand it down until the surface is smooth.
Step 3: Prime the Surface
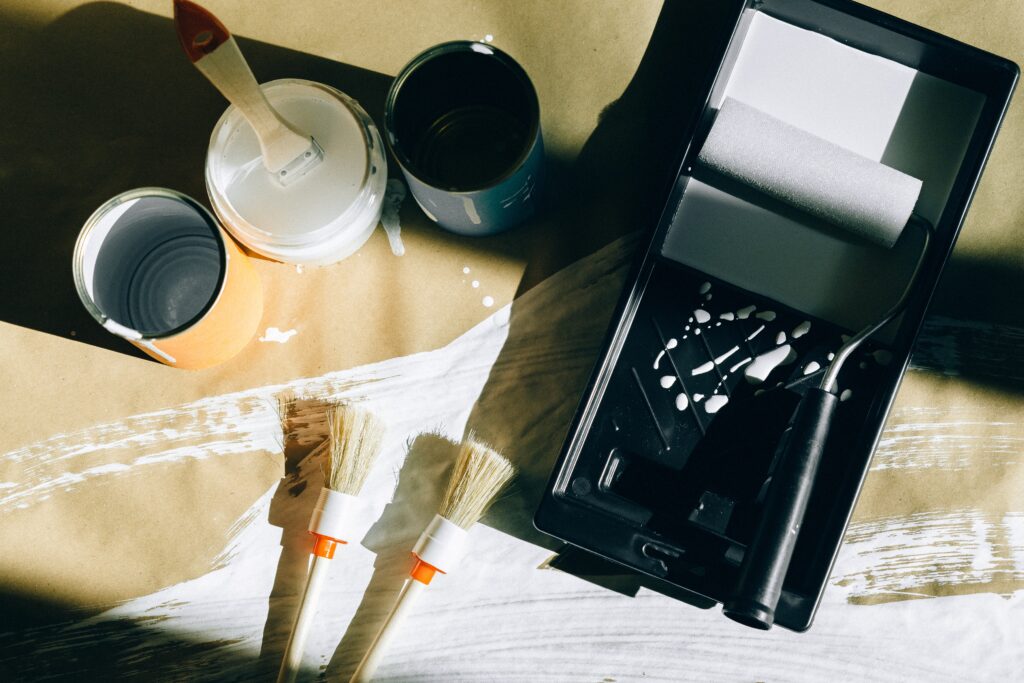
Apply a primer to the cabinets, making sure to cover every surface, including the edges and inside of the cabinets. Let the primer dry completely, then sand it down lightly to make sure the surface is smooth.
Step 4: Paint the Cabinets
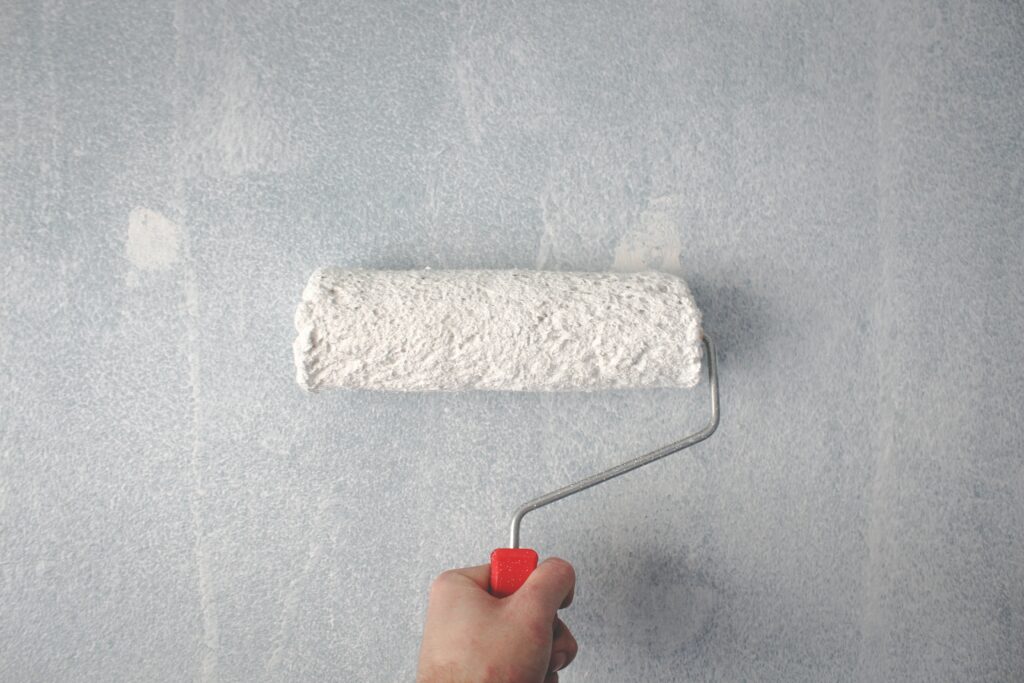
Apply your first coat of paint to the cabinets, using a brush or roller. Make sure to cover every surface, including the edges and inside of the cabinets. Let the first coat dry completely, then apply a second coat if needed.
Step5: Reinstall the Hardware and Doors
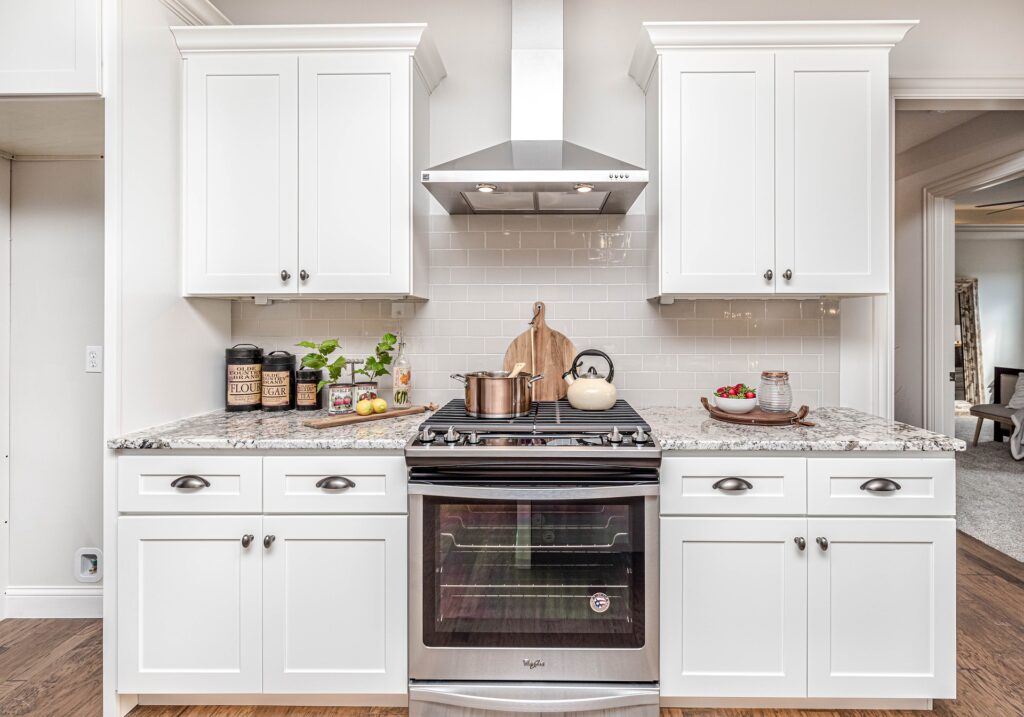
Once the paint is dry, reinstall the hardware and doors. You may want to replace the old hardware with new to complete the transformation.
Step 6: Seal the Paint
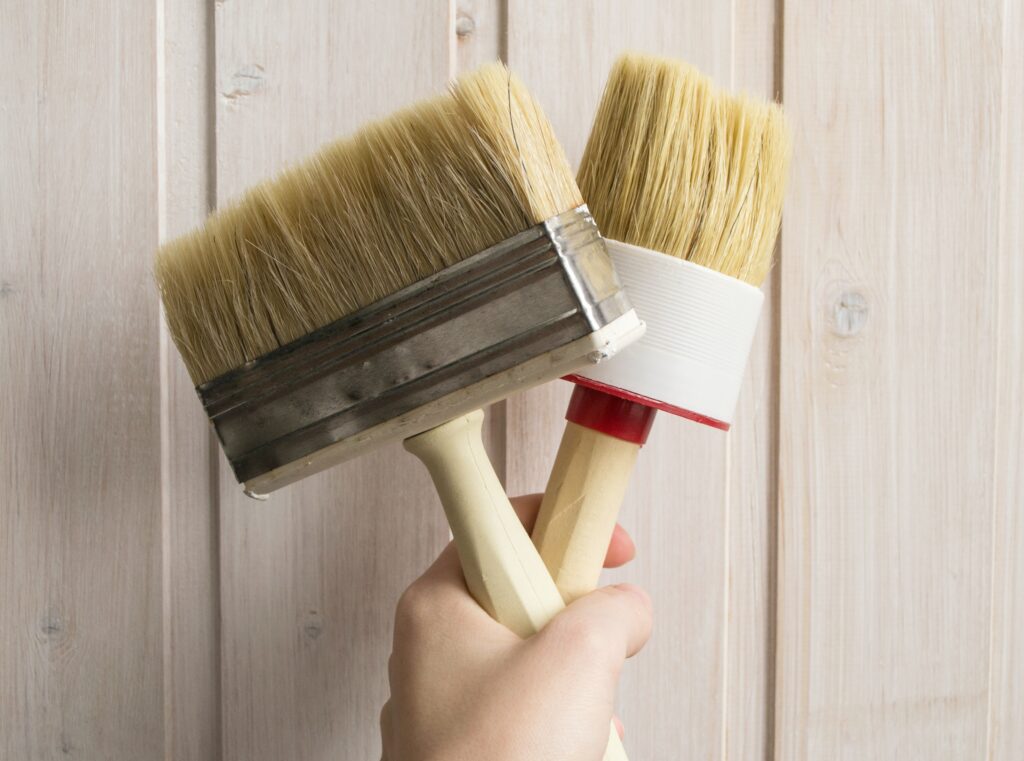
Finally, seal the paint with a clear topcoat to protect it from wear and tear. This will also give the cabinets a smooth, polished look.
Tips for Success:
- Use a high quality paint and primer for best results.
- Use painters tape to protect surrounding surfaces, such as the countertops and walls.
- Work in a well-ventilated area, and wear a mask to protect yourself from fumes.
Painting your kitchen cabinets is a simple, yet transformative project that can completely change the look of your kitchen. By following these steps, you’ll have a fresh new look in no time!

