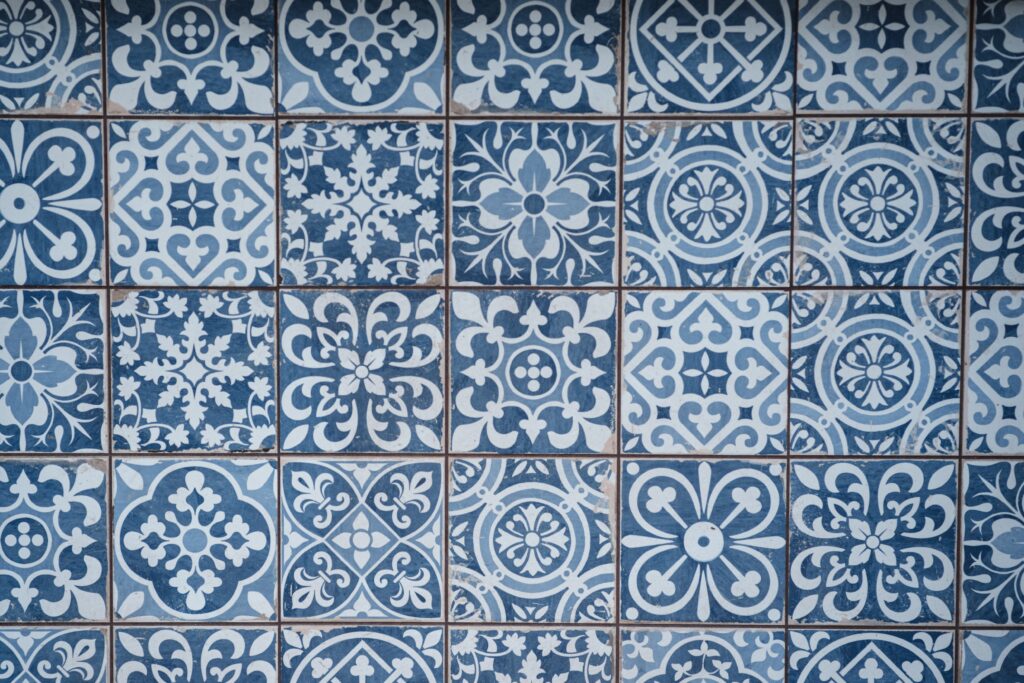
Painting and stenciling ceramic tiles is a fun and affordable way to give your kitchen or bathroom a fresh new look. Whether you’re looking to update your current tile or create a unique design, the process is relatively simple and can be completed in just a few steps. In this step-by-step guide, we’ll show you how to paint and stencil ceramic tiles.
Step 1: Clean the tiles
The first step in any painting or stenciling project is to ensure that the surface is clean and free of dirt, grime, and debris. This is especially important when working with ceramic tiles, as any dirt or grease on the surface can prevent the paint from adhering properly. Start by wiping down the tiles with a damp cloth and then use a cleaning solution specifically designed for ceramic tiles.
Step 2: Sand the tiles
Once the tiles are clean, use sandpaper to rough up the surface slightly. This will help the paint to adhere to the surface and prevent it from chipping or peeling. Use a medium-grit sandpaper and sand in a circular motion until the surface feels slightly rough to the touch.
Step 3: Prime the tiles
Before painting or stenciling, it’s important to apply a primer to the surface. This will ensure that the paint adheres properly and provides a smooth, even finish. Choose a primer specifically designed for use on ceramic tiles and apply it in a thin, even layer using a paintbrush or roller.
Step 4: Paint the tiles
Once the primer has dried, it’s time to paint the tiles. Choose a paint specifically designed for use on ceramic tiles and apply it in a thin, even layer using a paintbrush or roller. If you’re painting over an existing design, you may need to apply multiple coats of paint to achieve the desired color.
Step 5: Stencil the tiles
If you’re looking to add a unique design to your tiles, stenciling is a great option. Choose a stencil that fits the size and shape of your tiles and secure it in place using painter’s tape. Then, use a paintbrush or sponge to apply paint to the stencil, being careful not to apply too much paint at once. Remove the stencil and allow the paint to dry completely.
Step 6: Seal the tiles
Once the paint has dried, it’s important to seal the tiles to protect the surface and ensure that the paint doesn’t chip or peel over time. Choose a sealant specifically designed for use on ceramic tiles and apply it in a thin, even layer using a paintbrush or roller. Allow the sealant to dry completely before using the tiles.
In conclusion, painting and stenciling ceramic tiles is an easy and affordable way to update the look of your kitchen or bathroom. By following these simple steps, you can create a unique and personalized design that will last for years to come. Just remember to take your time, follow the instructions carefully, and have fun!

