")
Save Money on Driveway Expansion with a Simple Gravel Parking Pad
Need extra parking space but don’t want to pour concrete? A gravel parking pad is one of the easiest and most affordable ways to expand your driveway. It drains well, looks clean, and can usually be done over a weekend.
If you can use a shovel and a rake, you can build this. Below is a clear, practical guide to help you do it right the first time.
Why Add a Gravel Parking Pad?
Before we get into the steps, here’s why many homeowners choose gravel:
-
Costs much less than concrete or asphalt
-
Easy to install without heavy equipment
-
Drains water naturally
-
Simple to maintain
-
Can be expanded later
It’s especially useful if you have a growing household, a teen driver, a work truck, or frequent guests.
Tools and Materials You’ll Need
Tools
-
Shovel
-
Metal rake
-
Tape measure
-
Level
-
String and stakes
-
Hand tamper or plate compactor
-
Wheelbarrow
Materials
-
Landscape fabric
-
Crushed stone base (often called “base rock” or “crusher run”)
-
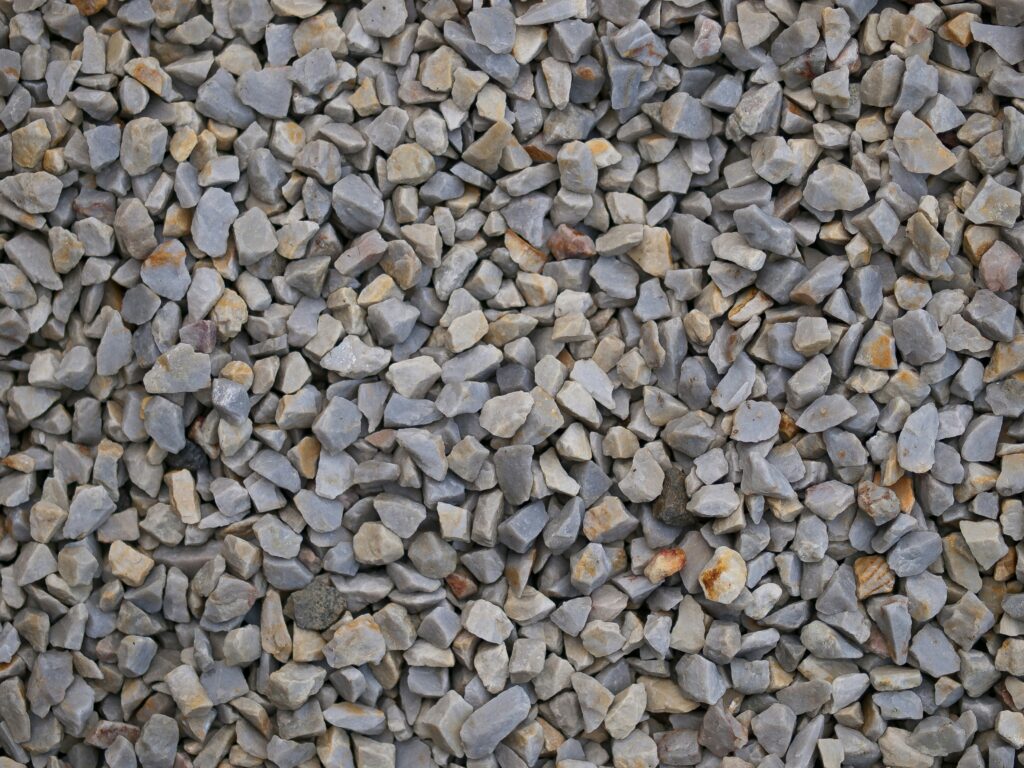
Decorative gravel (¾ inch works well for parking)
-
Edging material (plastic, metal, wood, or stone)
Tip: Call your local utility service before digging to mark underground lines.
Step 1: Plan and Mark the Area
Start by deciding how large your parking pad needs to be.
A standard parking space is about:
-
9 feet wide
-
18 feet long
Mark the outline with stakes and string. Stand back and look at it from the street to make sure it lines up neatly with your existing driveway.
Keep it slightly higher than the surrounding yard so water runs off instead of pooling.
Step 2: Excavate the Area
Dig down about 6 to 8 inches. This depth allows room for both the base layer and the top gravel.
Remove grass, roots, and loose soil. Try to keep the bottom as level as possible, but add a slight slope away from your house for drainage.
If your soil is soft or sandy, you may want to dig a little deeper for extra stability.
Step 3: Install Landscape Fabric
Lay landscape fabric across the entire area.
This step matters more than people think. It helps:
-
Prevent weeds
-
Keep gravel from sinking into the soil
-
Improve long-term stability
Overlap seams by a few inches so no soil is exposed.
Step 4: Add and Compact the Base Layer
Pour in 4 to 6 inches of crushed stone base.
Spread it evenly with a rake. Then compact it thoroughly using a hand tamper or rented plate compactor. This is the step that makes or breaks your project. If the base isn’t packed tight, the gravel will shift over time.
You’ll know it’s compacted well when it feels firm and doesn’t move under your feet.
Step 5: Install Edging
Edging keeps the gravel from spreading into your yard.
You can use:
-
Plastic landscape edging
-
Pressure-treated wood
-
Steel edging
-
Concrete or stone borders
Secure it firmly before adding the top layer of gravel.
Step 6: Add the Top Gravel Layer
Spread 2 to 3 inches of your chosen gravel on top of the compacted base.
Rake it smooth and even. Lightly compact again to help it settle.
For parking areas, crushed gravel with rough edges works better than smooth round stones. It locks together and doesn’t roll under tires.
Maintenance Tips
Gravel parking pads are low-maintenance, but not zero-maintenance.
Here’s what to expect:
-
Rake the surface once or twice a year
-
Add a thin fresh layer of gravel every few years
-
Pull weeds if they appear along edges
If you notice dips forming, add more gravel and compact it again.
Common Mistakes to Avoid
-
Skipping the base layer
-
Not compacting enough
-
Forgetting drainage slope
-
Using smooth river rock
-
Skipping edging
Most problems happen because the base wasn’t solid. Take your time with that step.
Is a Gravel Parking Pad Right for You?
If you want an affordable, practical way to add parking space without a major construction project, gravel is a smart option. It looks clean, works well in most climates, and can be installed in a weekend with basic tools.
You don’t need special skills. Just a clear plan and some effort.
Final Thoughts
Installing a gravel parking pad beside your driveway is one of those projects that gives instant value. More space. Better function. Cleaner look.
Take your time with the prep work, compact your base properly, and you’ll have a parking area that lasts for years.
If you’ve been thinking about adding extra space, this might be the simplest way to do it.