")
Simple DIY: A Cedar Planter Wall for Instant Backyard Privacy
If your backyard feels a little too open, you’re not alone. Close neighbors, busy streets, or shared fences can make it hard to relax outside. The good news? You don’t need a full fence to fix that.
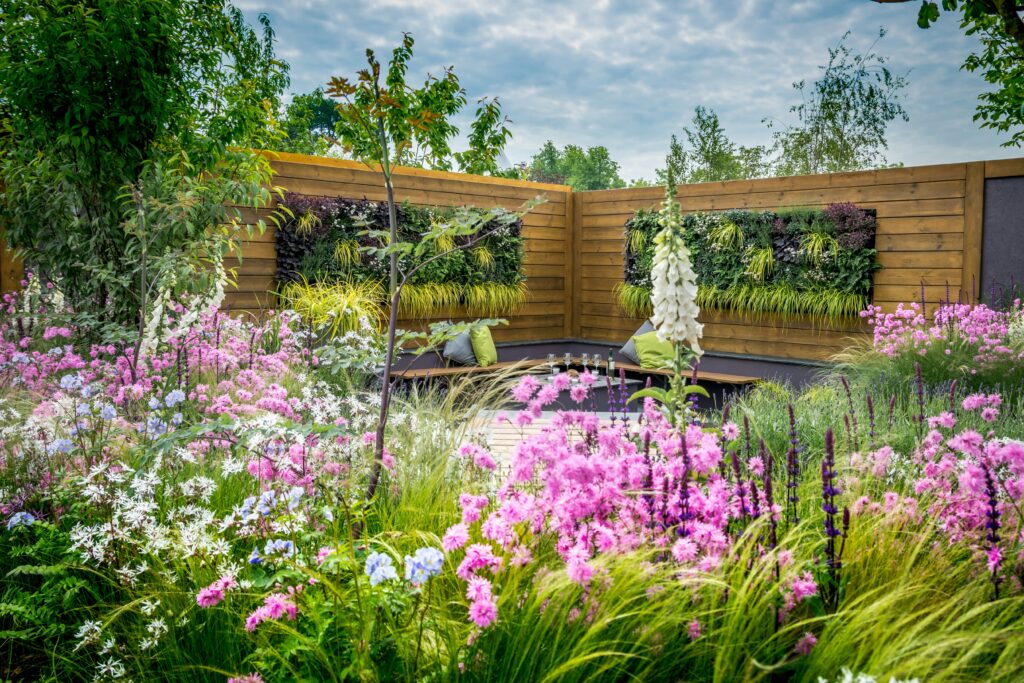
A cedar planter wall gives you privacy and a place to grow flowers, herbs, or greenery. It works as a natural screen and adds warmth to your space. Even better, it’s a project most homeowners can tackle over a weekend.
Here’s how to build one step by step.
Why Choose Cedar for a Planter Privacy Wall?
Before we get into the build, let’s talk about material.
Cedar is a solid choice because:
-
It naturally resists rot and insects
-
It holds up well in outdoor weather
-
It smells great when you cut it
-
It ages into a soft gray if left untreated
You don’t need to stain it, but you can if you want to keep that rich reddish tone.
Tools and Materials You’ll Need
Lumber:
-
Cedar 4×4 posts (for the frame)
-
Cedar 2×4 boards (for structure)
-
Cedar fence pickets or slats (for the wall face)
-
Exterior-grade plywood (optional, for planter backing)
Planter Box Materials:
-
Cedar boards for box sides
-
Galvanized screws
-
Landscape fabric
-
Gravel for drainage
Tools:
-
Circular saw or miter saw
-
Drill and exterior screws
-
Level
-
Measuring tape
-
Post hole digger (if setting posts in ground)
Tip: Pre-drill cedar before driving screws. It helps prevent splitting.
Step 1: Plan Your Layout
Start by deciding:
-
How tall do you want the wall? (6 to 7 feet works well for privacy.)
-
How wide should it be?
-
Will it attach to an existing structure or stand alone?
Measure the area carefully. Sketch it out on paper. Even a rough drawing helps avoid mistakes later.
If the wall is freestanding, you’ll need to set posts in concrete for stability.
Step 2: Set the Posts
For a freestanding wall:
-
Dig post holes about 2 feet deep.
-
Place your 4×4 cedar posts in the holes.
-
Use a level to make sure they’re straight.
-
Pour concrete and let it cure fully.
Spacing posts 4 to 6 feet apart keeps the wall sturdy.
If you’re attaching it to an existing deck or fence, anchor the posts securely with heavy-duty brackets.
Step 3: Build the Frame
Once your posts are set:
-
Attach horizontal 2×4 boards at the top and bottom between posts.
-
Add a middle support board if your wall is taller than 6 feet.
This creates a strong frame for the slats and planters.
Make sure everything is level before tightening the screws fully.
Step 4: Install the Cedar Slats
Now it starts to look like a wall.
Attach cedar pickets or slats vertically across the frame. You can:
-
Place them tightly together for full privacy
-
Leave small gaps (¼–½ inch) for airflow and a modern look
Keep spacing consistent. A scrap piece of wood works great as a spacer guide.
Step 5: Build the Planter Boxes
You can mount planter boxes directly onto the wall or build them into the base.
To build a simple box:
-
Cut cedar boards to your desired length.
-
Screw sides together into a rectangle.
-
Add a bottom panel with drainage holes.
-
Line with landscape fabric.
-
Add a thin layer of gravel before soil.
Mount boxes securely into the wall frame, not just the slats.
If you prefer, you can create one long planter at the base of the wall for a built-in look.
Step 6: Fill and Plant
Now for the fun part.
For privacy, choose tall or full plants such as:
-
Ornamental grasses
-
Boxwood shrubs
-
Bamboo (clumping variety only)
-
Trailing vines
If the wall gets good sun, herbs like rosemary and lavender also work well.
Mix height and texture to keep it from looking flat.
Optional: Seal or Stain the Cedar
You can leave cedar natural, but sealing it will:
-
Keep the color richer longer
-
Protect against water damage
-
Extend its lifespan
Use a clear outdoor wood sealer or a light stain. Apply with a brush or roller and follow dry-time instructions.
Cost Breakdown (Rough Estimate)
Prices vary, but for a 6-foot-tall by 8-foot-wide wall:
-
Cedar lumber: $250–$450
-
Concrete and hardware: $50–$100
-
Soil and plants: $100–$300
Total: Around $400–$850 depending on size and plant choice.
Final Thoughts
A cedar planter wall is one of those projects that checks all the boxes. It gives you privacy. It adds greenery. And it makes your yard feel finished.
You don’t need expert skills. Just take your time, measure carefully, and build it step by step.
Once it’s done, you’ll have a quiet corner that feels like your own little escape. And that’s worth the effort.