")
Your bedroom should be a place of comfort and style, and a custom headboard is a perfect way to add a personal touch. Store-bought headboards can be expensive, but with a little creativity and effort, you can build one for a fraction of the cost. Plus, making it yourself means you get to design something that perfectly fits your space and taste. Whether you prefer a rustic wooden look, an upholstered design, or something unique, this step-by-step guide will help you create a stunning focal point for your bedroom.
What You’ll Need
Before you start, gather these basic materials:
- Plywood or reclaimed wood (for the headboard base)
- Foam padding and fabric (for an upholstered look)
- Wood stain or paint (for a finished touch)
- Nails, screws, and a drill
- Measuring tape and pencil
- Staple gun (for fabric)
- Sandpaper (if using wood)
Step 1: Plan Your Design
First, decide on the size and style of your headboard. Measure the width of your bed and choose a height that complements your room. If you like a minimalist look, a simple stained wooden panel might be perfect. If you want something cozy, an upholstered headboard with soft fabric and padding is a great option.
Step 2: Cut and Prepare the Base
Using plywood or wood planks, cut your headboard to the desired size. If you’re working with raw wood, sand it down to smooth out any rough edges. This is also a good time to stain or paint the wood if you’re going for a classic wooden look. Let it dry completely before moving on.
Step 3: Add Upholstery (Optional)
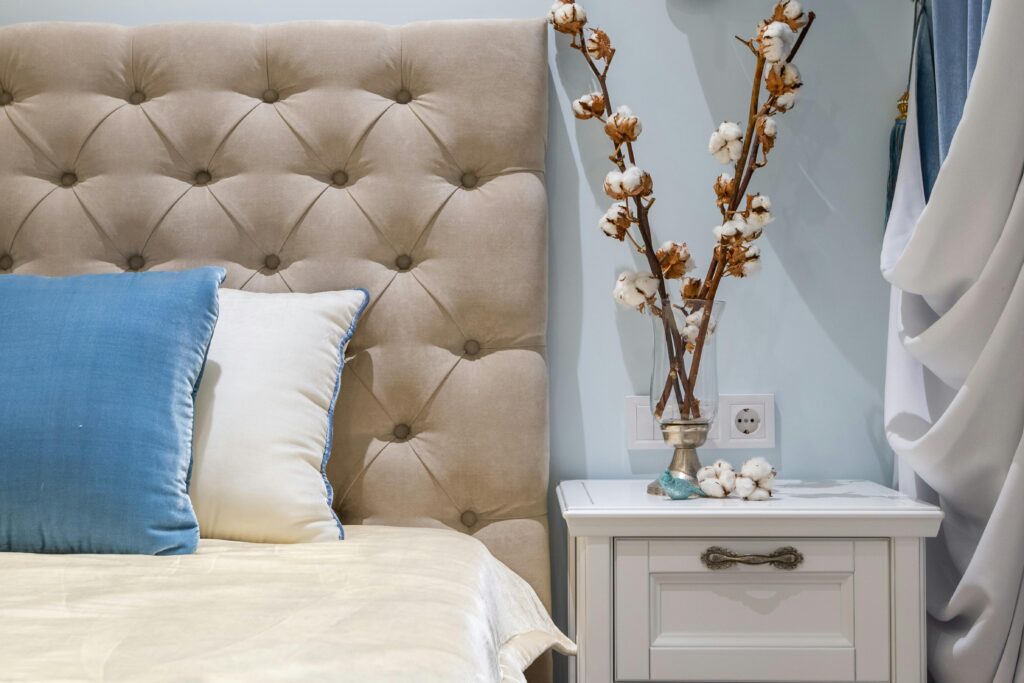
If you’re going for a soft, upholstered look, lay your foam padding over the plywood and cut it to size. Then, wrap the fabric around the padding and staple it securely to the back of the board using a staple gun. Pull the fabric tight to avoid wrinkles. If you want a tufted look, you can add buttons by sewing them through the fabric and foam.
Step 4: Attach to the Wall or Bed Frame
There are a few ways to install your headboard:
- Mount it on the wall: Use a French cleat or sturdy brackets to hang it securely.
- Attach it to the bed frame: Drill holes into the bed frame and use screws or bolts to connect the headboard.
- Let it rest against the wall: If your bed is pushed against a wall, you can lean the headboard against it.
Step 5: Add Final Touches
Now that your headboard is in place, step back and admire your work! You can add extra details like string lights, decorative trim, or even a built-in shelf for a unique look.
Creating a custom headboard is an easy and rewarding way to transform your bedroom. Not only does it give your space a personal touch, but it also allows you to get creative with colors, textures, and materials. Whether you go for a sleek, modern design or a cozy, upholstered style, your DIY headboard will add character and charm to your bedroom. So grab your tools, unleash your creativity, and start building the perfect headboard for your space!