")
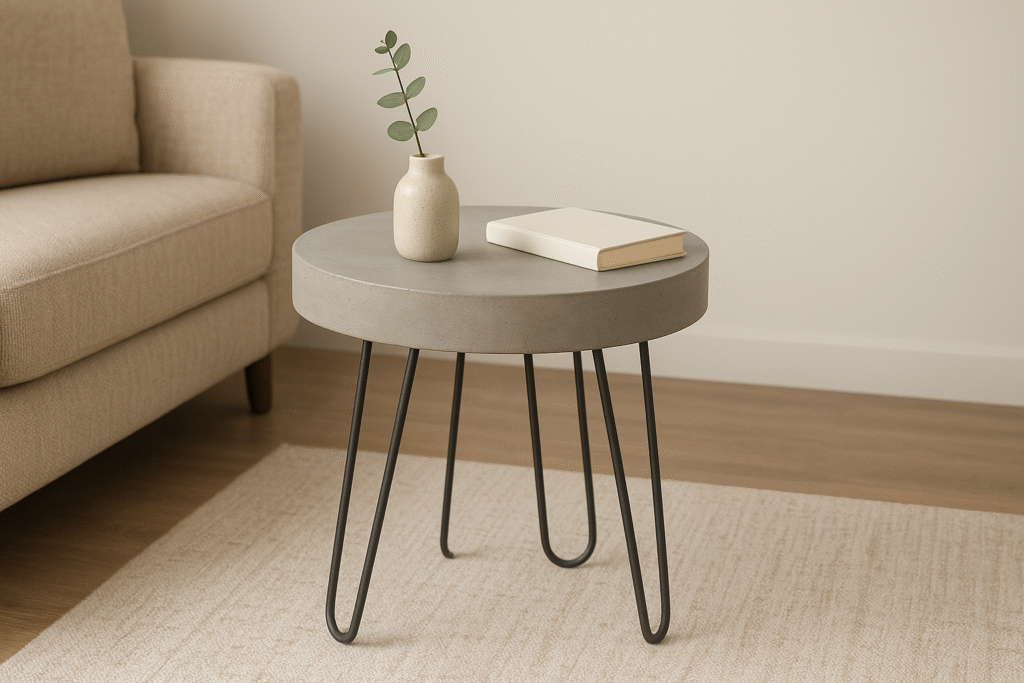
Concrete side tables look expensive in stores, but you don’t have to spend hundreds to get one. With a simple mold, a bag of concrete, and a free afternoon, you can make your own sturdy, modern table that looks like it came straight out of a design magazine. No fancy tools, no construction background—just a little patience and some creativity.
What You’ll Need
- A bag of quick-set concrete (available at any hardware store)
- A large plastic bucket or round container (this becomes your mold)
- A smaller bucket for mixing
- A mixing stick or trowel
- Vegetable oil or non-stick spray
- Sandpaper (medium and fine grit)
- Hairpin legs or wooden dowels for the base
- Drill and screws (if attaching legs)
Step 1: Prep the Mold
Select a container that’s the desired size and shape for your table. Buckets work great for a classic round table, but you can experiment with square tubs or planters. Lightly coat the inside with vegetable oil or spray so the concrete will release easily once it sets.
Step 2: Mix the Concrete
In your mixing bucket, add the concrete and water according to the directions on the bag. Stir until the mix is thick but pourable—think pancake batter. Try not to overmix; small lumps are fine.
Step 3: Pour and Set
Carefully pour the concrete into your mold. Tap the sides of the container with your hand to release air bubbles. Smooth the top with your mixing stick, then let it sit. Most quick-set concrete will firm up within 24 hours, but giving it 48 will make sure it’s solid.
Step 4: Remove and Smooth
Once it’s hardened, flip the mold and slide out your new concrete top. If it’s stubborn, gently tap the sides or use a rubber mallet. Sand down the edges and surface until smooth. You can leave it raw for a natural look or polish it more for a sleek finish.
Step 5: Add the Legs
Flip your concrete top upside down and attach the legs. Hairpin legs give a modern vibe, while wooden dowels add warmth. Drill carefully to avoid cracking—start with small pilot holes, then secure the screws.
Step 6: Seal (Optional)
If you plan to use your table outdoors or want extra protection from stains, apply a clear concrete sealer. This also deepens the color slightly, giving it a richer look.
That’s It—You’ve Got a Designer Table for Less
In just a couple of days, you’ve built a piece of furniture that looks expensive but cost a fraction of what you’d pay in stores. Even better, you made it yourself. Each table will be unique—whether you leave it raw and rugged or polish it smooth and glossy, it’ll add style and personality to your space.
So grab a bag of concrete, pick a mold, and get started. Once you see how simple it is, you’ll probably want to make a matching set.