")
The Easiest DIY Paint Roller Storage Rack Anyone Can Build
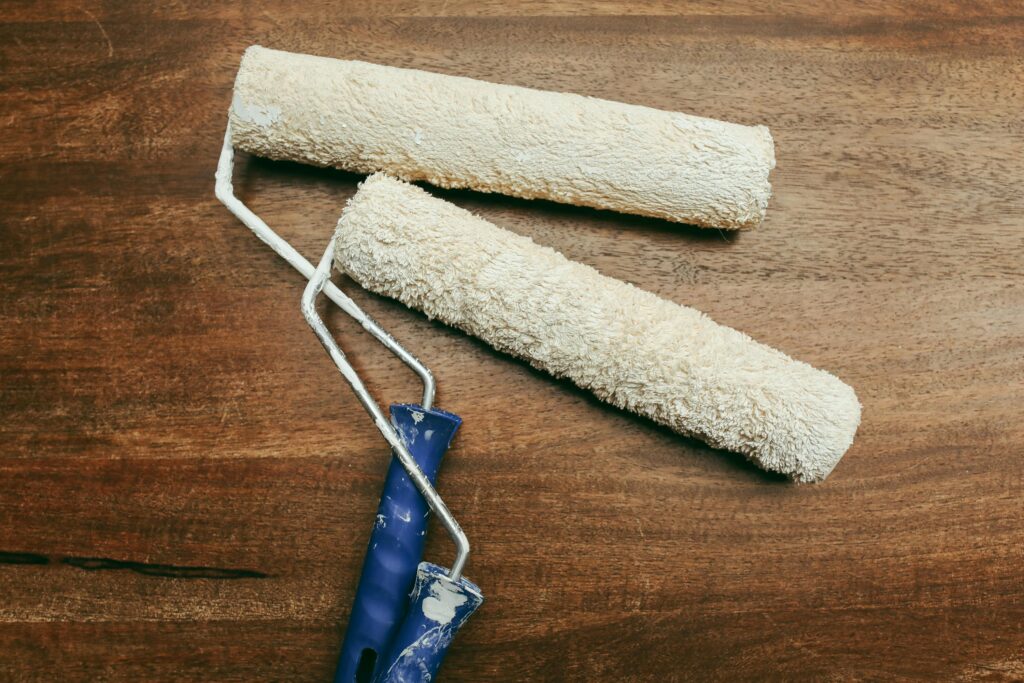
Paint rollers are great when you’re working on a project, but storing them afterward can be messy. If you toss them in a box or drawer, they get bent, dirty, or stuck together with dried paint.
A simple storage rack solves that problem. It keeps rollers hanging neatly so they keep their shape and stay ready for the next job.
The good news is you don’t need fancy tools or expensive materials. With a small piece of wood and a few screws, you can build a rack in less than an hour.
Here’s how to do it.
Why Build a Paint Roller Storage Rack?
Before jumping into the steps, it helps to know why this little project is worth doing.
A roller rack helps you:
-
Keep rollers from getting crushed in storage
-
Let rollers dry properly after cleaning
-
Organize your painting tools in one place
-
Save space in your workshop or garage
If you paint often, this simple rack will quickly become one of the most useful things in your workspace.
Materials You’ll Need
You likely already have most of these items at home.
Materials:
-
1 wooden board (about 1×4, 18–24 inches long)
-
4–6 long screws or heavy-duty hooks
-
Wall anchors (if mounting on drywall)
-
Sandpaper (optional)
-
Wood stain or paint (optional)
Tools:
-
Drill
-
Screwdriver
-
Measuring tape
-
Pencil
-
Level
Step 1: Measure and Mark the Board
Start by laying your wooden board on a flat surface.
Use your measuring tape to mark evenly spaced points where the screws or hooks will go. Leave about 3–4 inches between each one so the rollers have enough room to hang without touching each other.
Lightly mark the spots with a pencil.
Step 2: Drill Pilot Holes
Drill small pilot holes where you marked the spots.
This step makes it easier to install the screws and prevents the wood from splitting. It only takes a minute and saves a lot of frustration later.
Step 3: Install the Screws or Hooks
Now drive the screws into the pilot holes.
Leave about 1–1.5 inches of the screw sticking out so the roller frame can hang on it easily. If you’re using hooks instead, screw them in fully.
Make sure they’re all pointing in the same direction so the rack looks clean and organized.
Step 4: Smooth and Finish the Wood (Optional)
If you want the rack to look nicer, take a few minutes to sand the edges of the board.
You can also paint or stain the wood to match your workshop, garage, or tool area. This step is optional, but it gives the rack a finished look.
Let the paint or stain dry before mounting it.
Step 5: Mount the Rack on the Wall
Choose a spot in your garage, shed, or workshop where your painting tools are stored.
Use a level to make sure the board sits straight. Then drill screws through the board into the wall.
If you’re mounting it on drywall, use wall anchors for extra support.
Step 6: Hang Your Paint Rollers
Once the rack is secure, hang each paint roller frame on a screw or hook.
The rollers will sit freely in the air, which helps them dry properly and keeps them from getting squished in a drawer or toolbox.
Simple, clean, and easy to grab when you need them.
Extra Tips for Keeping Rollers in Good Shape
A storage rack helps, but a few simple habits will make your rollers last even longer.
-
Clean rollers immediately after use so paint doesn’t harden
-
Let them dry fully before putting them on the rack
-
Label sections if you use different rollers for different paints
These small steps save money and keep your tools working like they should.
Final Thoughts
A paint roller storage rack is one of those small projects that makes a big difference in your workspace. It takes very little time to build, costs almost nothing, and keeps your painting tools organized.
If you enjoy simple DIY projects, this is a great one to start with. In less than an hour, you’ll have a clean, practical way to store your rollers and keep them ready for the next job.
And once you build one, you might start looking around your workshop for the next small improvement to tackle.