")
The Easy Way to DIY a Stunning Farmhouse Range Hood Cover
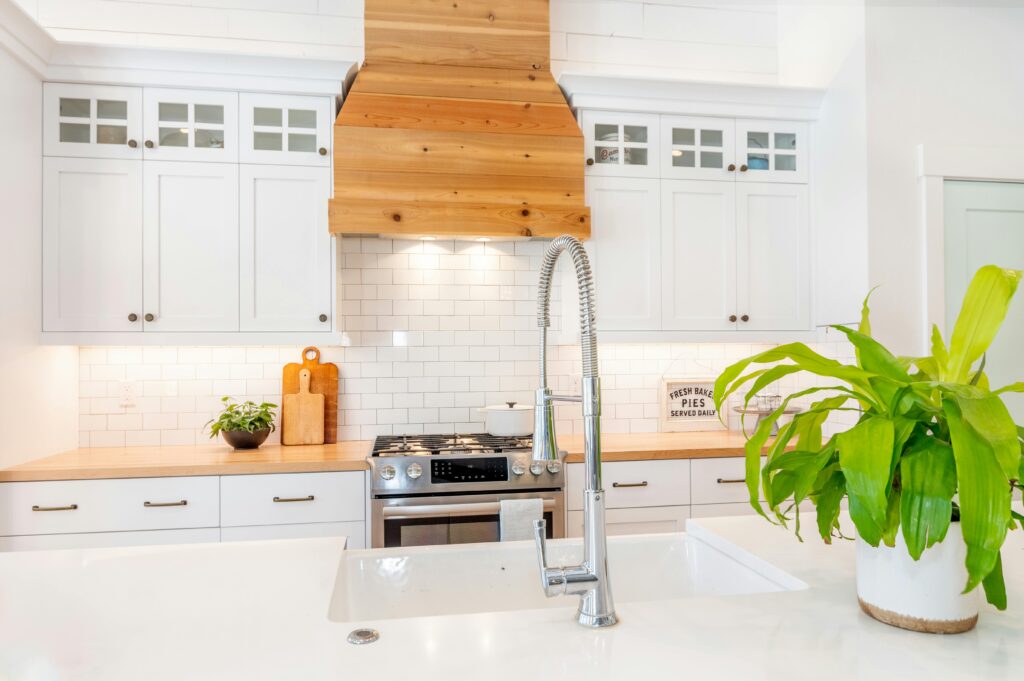
A farmhouse kitchen has a warm, lived-in feel that never really goes out of style. One detail that makes a big difference is the range hood cover. The problem is, custom ones can be expensive.
The good news? You can build one yourself with basic tools, a bit of patience, and a clear plan.
This guide walks you through the process in a simple, practical way. No complicated terms. Just what you need to get it done.
Why Build Your Own Range Hood Cover?
Before we get into the steps, here’s why this project is worth your time:
- It costs much less than buying a custom hood
- You can match your exact kitchen style
- It adds a strong focal point to your space
- It’s beginner-friendly with the right approach
Even if you’ve never built something like this before, you can handle it.
What You’ll Need
Keep things simple. Here’s a basic list:
Materials:
- Plywood or MDF boards
- 1×2 or 1×3 wood strips (for framing)
- Wood screws
- Wood glue
- Sandpaper
- Paint or stain
- Primer
Tools:
- Measuring tape
- Drill
- Saw (circular or miter works fine)
- Level
- Stud finder
Step 1: Measure Your Space
Start by measuring your existing range hood or vent insert.
You need:
- Width
- Height
- Depth
Make sure your design leaves enough room for proper ventilation. Don’t build too tight around the insert.
Tip: Sketch a quick drawing before cutting anything. It helps avoid mistakes.
Step 2: Build the Frame
Think of the frame as the skeleton.
- Use your wood strips to create a box shape
- Attach pieces using screws and wood glue
- Make sure everything is level and square
This frame will mount to the wall and support the outer panels.
Step 3: Attach the Frame to the Wall
- Locate studs using a stud finder
- Secure the frame directly into the studs
- Double-check that it’s level before tightening everything
This step matters. A solid mount keeps your hood safe and stable.
Step 4: Cut and Attach the Panels
Now it starts to look like a real hood.
- Cut your plywood or MDF to size
- Attach panels to the frame using screws or nails
- Fill any gaps with wood filler
You can keep the design simple or add angled sides for a tapered look.
Step 5: Add Trim for That Farmhouse Style
This is where the charm comes in.
- Use trim boards to cover seams and edges
- Add a bottom lip or front detail if you want more character
Small details make a big visual difference here.
Step 6: Sand and Prep
Before painting, smooth everything out.
- Sand all surfaces and edges
- Wipe off dust
- Fill any visible holes or cracks
A clean surface helps your finish look better.
Step 7: Paint or Stain
Choose a finish that fits your kitchen.
- Paint for a clean, bright farmhouse look (white and soft neutrals work well)
- Stain if you prefer a natural wood feel
Apply primer first, then paint in thin, even coats.
Step 8: Install Your Vent Insert
Once the cover is finished:
- Slide your vent insert into place
- Secure it according to manufacturer instructions
Make sure airflow is not blocked.
Common Mistakes to Avoid
A few things to watch out for:
- Skipping measurements and guessing sizes
- Not anchoring into studs
- Forgetting ventilation space
- Rushing the paint job
Take your time. This project looks best when done carefully.
Final Thoughts
Building your own farmhouse range hood cover might seem like a big project at first, but it’s really just a series of simple steps.
You don’t need fancy tools or expert skills. Just patience and a plan.
In the end, you’ll have something that not only looks great but also feels personal. And every time you walk into your kitchen, you’ll notice it.
That’s what makes it worth it.