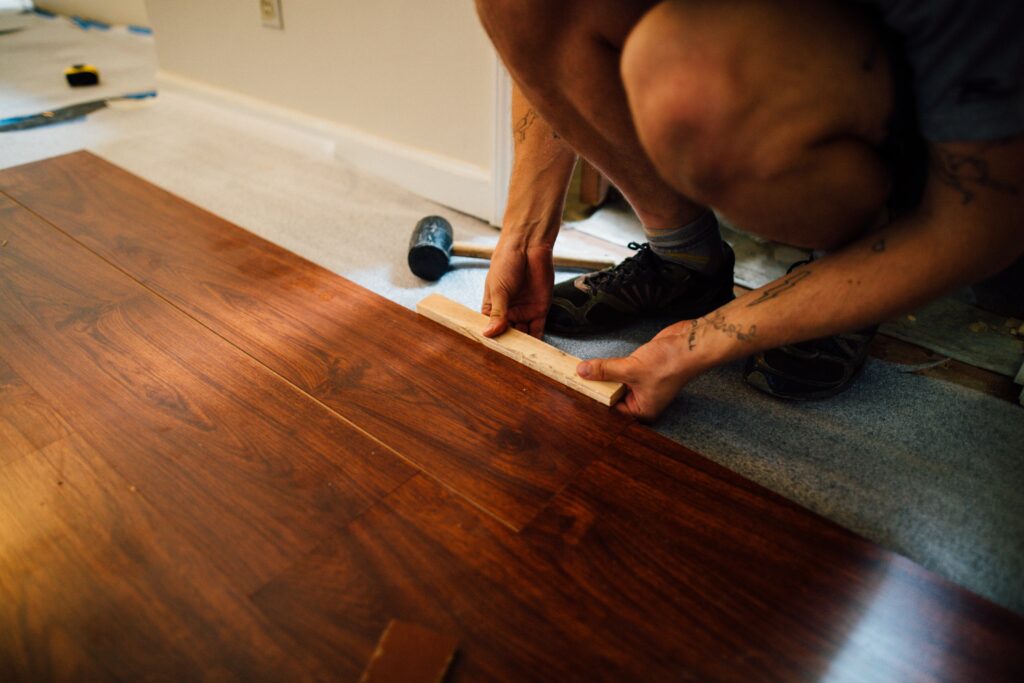
Laminate flooring has become increasingly popular in recent years due to its durability, affordability, and ease of installation. With a variety of styles and colors to choose from, laminate flooring is a great option for anyone looking to update the look of their home. If you’re considering laying laminate flooring, this ultimate guide will provide you with everything you need to know.
Choose your laminate flooring
Before you start laying laminate flooring, you need to choose the type of flooring you want. There are various styles, thicknesses, and finishes available, so it’s essential to find the perfect one for your home. You should consider factors like the size of the room, the level of foot traffic, and the overall style of your home when choosing your flooring.
Gather your tools
Once you’ve chosen your laminate flooring, you’ll need to gather the tools you’ll need to install it. Here’s a list of essential tools:
- Laminate flooring
- Underlayment
- Measuring tape
- Utility knife
- Saw
- Chalk line
- Tapping block
- Pull bar
- Spacers
- Knee pads
- Safety glasses
Prepare the room
Before laying laminate flooring, you need to prepare the room. This involves removing any existing flooring, ensuring the subfloor is clean and level, and installing the underlayment. The underlayment is a thin layer of material that helps to absorb sound, provide cushioning, and prevent moisture from seeping through the subfloor.
Plan the layout
Before installing the laminate flooring, you need to plan the layout. This involves measuring the room and determining the direction in which you want the flooring to run. It’s essential to ensure that the laminate flooring is perpendicular to the floor joists for optimal stability.
Install the laminate flooring
Once you’ve planned the layout, you can start installing the laminate flooring. Here are the steps to follow:
Step 1: Lay the first row of laminate flooring along the longest wall in the room, leaving a 1/4-inch gap between the flooring and the wall.
Step 2: Use spacers to maintain the gap between the wall and the laminate flooring.
Step 3: Cut the last plank of the first row to fit using a saw.
Step 4: Start the second row with the remaining piece of the last plank from the first row.
Step 5: Stagger the joints between planks to create a more natural look.
Step 6: Use a tapping block and pull bar to fit the planks together tightly.
Step 7: Continue laying the laminate flooring row by row, using spacers to maintain the gap between the flooring and the wall.
Step 8: Cut the last row of planks to fit, leaving a 1/4-inch gap between the flooring and the wall.
Install the baseboards and trim
Once you’ve installed the laminate flooring, you can install the baseboards and trim. This involves cutting the baseboards to fit and nailing them to the wall. You should also install trim around any doors or transitions between rooms to create a polished finish.
In conclusion, laying laminate flooring is a great way to update the look of your home. With the right tools and a little bit of patience, you can install laminate flooring in just a few hours. Remember to choose the right type of flooring, prepare the room, plan the layout, and install the flooring correctly. By following these steps, you’ll have a beautiful new floor in no time!

