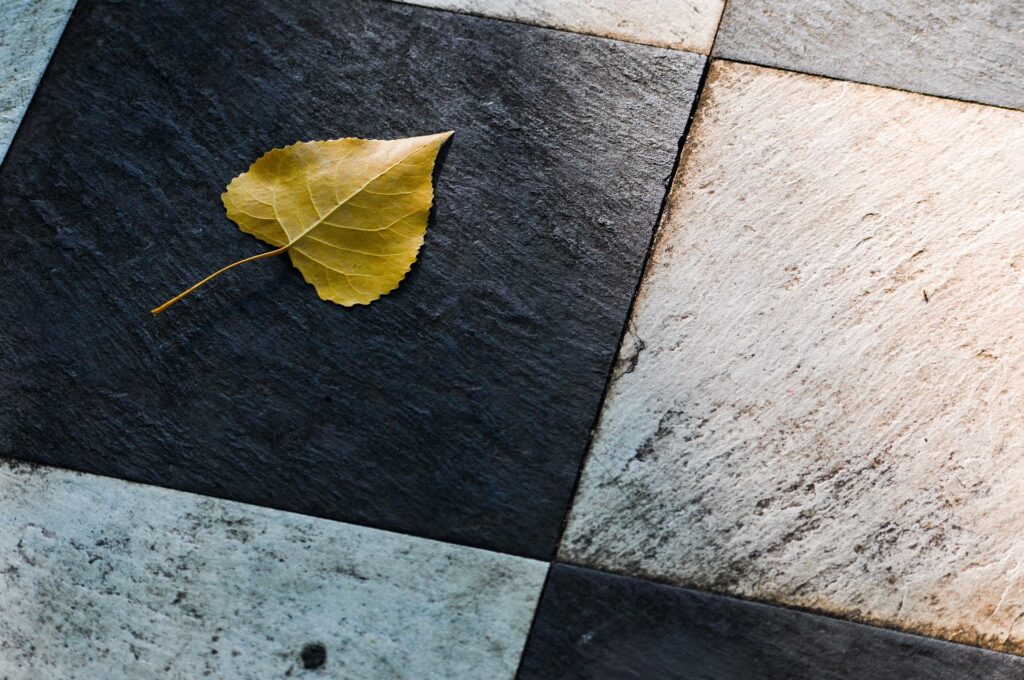
When it comes to remodeling a bathroom or kitchen, laying tile can add a stylish touch that is both functional and aesthetically pleasing. However, if you have never laid tile before, it can seem like a daunting task. The following is the ultimate guide to laying tile to help you through the process.
Gather Your Supplies
Before you begin laying tile, you will need to gather all the necessary supplies. This includes the tile itself, tile adhesive, grout, a notched trowel, a tile cutter or wet saw, a grout float, and spacers.
Prepare the Surface
The surface that you will be laying tile on must be clean, dry, and free of any debris or dust. If necessary, use a scraper or sandpaper to remove any old adhesive or bumps. Ensure that the surface is level, and if not, use a self-leveling compound to even it out.
Measure and Mark
Measure the area that you will be tiling to determine how much tile you will need. Use a chalk line or a straight edge and a pencil to mark the lines where you will lay your tiles. This will ensure that your tiles are straight and even.
Apply Tile Adhesive
Using a notched trowel, apply tile adhesive to a small area of the surface. Begin at the center of the area and work your way outwards. Apply enough adhesive to lay several tiles at a time.
Lay the Tile
Carefully lay the first tile in the adhesive, ensuring that it is aligned with the marked lines. Use spacers to create even gaps between the tiles. Continue laying tiles in the adhesive until you have covered the area.
Cut Tiles to Fit
As you reach the edges of the area, you may need to cut tiles to fit. Use a tile cutter or wet saw to cut tiles to the necessary size and shape. Be sure to wear eye protection when using a wet saw.
Allow the Adhesive to Dry
Allow the adhesive to dry for the recommended amount of time, typically 24 hours. Do not walk on or disturb the tiles during this time.
Apply Grout
Once the adhesive has dried, use a grout float to apply grout to the gaps between the tiles. Spread the grout evenly, making sure to fill all the gaps.
Clean the Tiles
Use a damp sponge or cloth to clean the excess grout off the surface of the tiles. Do this before the grout has fully hardened, or it will be much harder to remove.
Seal the Grout
After the grout has dried, seal it to protect it from staining and water damage. Apply a grout sealer according to the manufacturer’s instructions.
In conclusion, laying tile can be a satisfying DIY project that can add value to your home. Follow these ten steps, and you’ll have a beautiful and functional tiled surface in no time.

