")
Towel Bar Ripped Out of the Wall? Here’s How to Patch the Damage
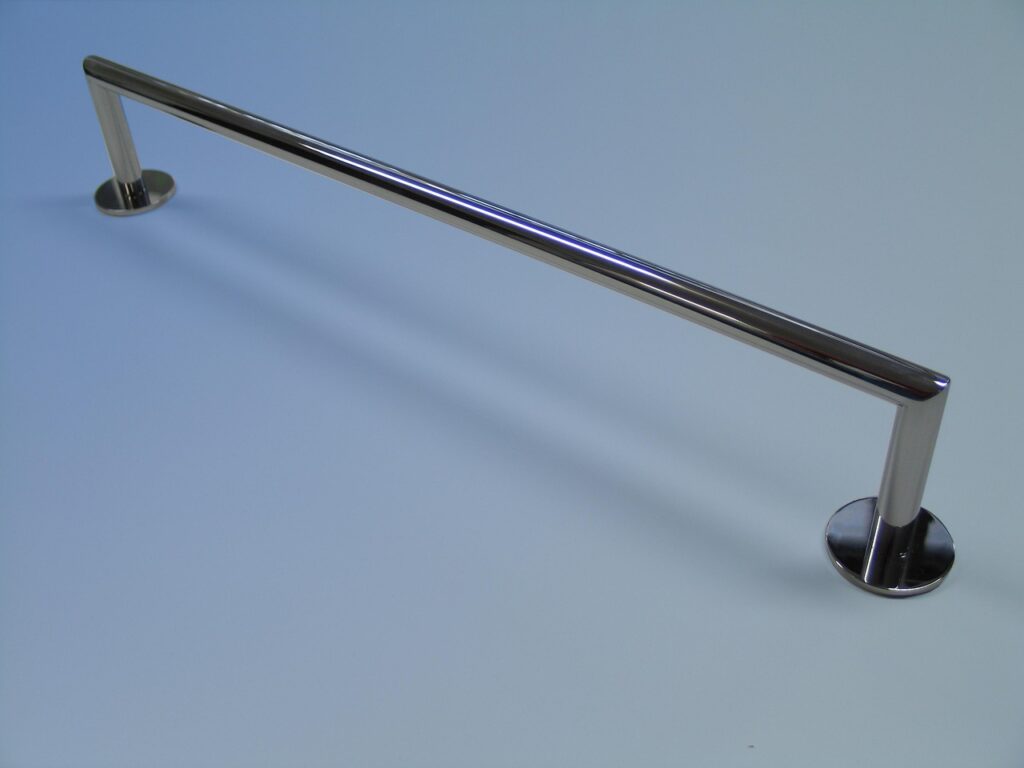
Towel bars seem harmless until one day they’re hanging loose or ripped right out of the wall. Whether it happened slowly over time or all at once, the result is the same: ugly holes, cracked drywall, and a bathroom that looks unfinished.
The good news? You don’t need to be a pro to fix it. With a few basic tools and a little patience, you can patch wall damage from towel bars and make the wall look solid again.
Here’s how to do it the right way.
Why Towel Bars Damage Walls in the First Place
Most towel bars are mounted into drywall anchors instead of studs. Over time, the constant pulling from wet towels puts stress on those anchors. Eventually, they loosen or rip out completely.
Once that happens, simply screwing the towel bar back in won’t work. The wall needs to be repaired first or the damage will just get worse.
What You’ll Need Before You Start
You don’t need anything fancy. Most of this can be found at a hardware store.
-
Spackle or lightweight wall repair compound
-
Putty knife
-
Sandpaper (medium and fine grit)
-
Utility knife
-
Drywall patch or mesh tape (for larger holes)
-
Primer
-
Matching paint
-
Screwdriver or drill
If the holes are small, spackle alone may be enough. If the drywall is torn or crumbling, use a patch or mesh tape.
Step 1: Remove the Towel Bar and Clean the Area
Take the towel bar off completely. Pull out any loose anchors or screws.
Use a utility knife to trim away torn or flaky drywall. You want clean, solid edges so the patch sticks properly.
Wipe away dust so the repair compound can bond to the wall.
Step 2: Fill Small Holes or Patch Larger Damage
For Small Holes
Use your putty knife to press spackle into the holes. Push it in firmly so there are no air pockets. Smooth it flat with the wall.
For Larger Holes
If the drywall is broken or pulled out, apply a drywall patch or mesh tape over the area. Spread spackle over the patch, feathering the edges so it blends into the wall.
Let it dry completely. This usually takes a few hours, but overnight is best.
Step 3: Sand Until Smooth
Once dry, sand the area lightly. The goal is a smooth, flat surface that blends into the wall.
Run your hand over it. If you can feel a bump, sand a bit more. Wipe away dust when you’re done.
Step 4: Apply a Second Coat if Needed
Deep holes often need a second thin coat of spackle. Apply it, let it dry, and sand again.
This extra step makes a big difference in how invisible the repair looks once painted.
Step 5: Prime and Paint
Always prime repaired areas. Skipping primer can cause flashing, where the patched spot shows through the paint.
Once the primer is dry, paint the wall to match. Two light coats usually give the best result.
Step 6: Reinstall the Towel Bar the Right Way
Before reinstalling, check for a wall stud. If possible, mount the towel bar directly into the stud for a stronger hold.
If no stud is available, use heavy-duty anchors rated for bathroom use. This helps prevent the same damage from happening again.
Common Mistakes to Avoid
-
Don’t reuse old anchor holes
-
Don’t rush drying time
-
Don’t skip sanding
-
Don’t mount the towel bar back into weak drywall
Taking your time now saves you from repeating the repair later.
Final Thoughts
Wall damage from towel bars is one of those small problems that can make a bathroom look worse than it really is. Luckily, it’s also one of the easiest fixes.
With a little prep and patience, you can patch the wall, repaint it, and reinstall the towel bar so it stays put. No special skills required, just a steady hand and the right steps.
And next time, aim for a stud. Your wall will thank you.