")
Turn Your Wall Into Storage: DIY File Holder Made Simple
If papers keep piling up on your desk, you’re not alone. Bills, notes, folders, and random printouts can take over fast. A wall-mounted file holder is a simple fix. It clears your workspace and keeps everything within reach.
The best part? You don’t need fancy tools or a big budget. This guide walks you through an easy way to build one yourself.
Why Make Your Own File Holder?
Store-bought organizers can be pricey or not quite right for your space. When you make your own, you get:
- The exact size you need
- A style that matches your room
- A lower cost
- The satisfaction of building something useful
What You’ll Need
Keep it simple. Here’s a basic list:
- Wooden boards or a sturdy crate (reclaimed wood works great)
- Screws or nails
- Drill or hammer
- Sandpaper
- Paint or wood stain (optional)
- Wall anchors or mounting brackets
Tip: If you want a quicker build, you can even repurpose an old magazine holder or box.
Step 1: Plan Your Size and Layout
Think about what you’ll store. A few folders? Thick stacks of paper?
A good starting size is about:
- 12 inches wide
- 8–10 inches tall
- 3–4 inches deep
Sketch a simple design. Nothing fancy, just enough to guide you.
Step 2: Cut and Prepare the Wood
Cut your wood pieces based on your plan:
- One back panel
- One bottom piece
- Two side panels
Sand all edges until smooth. This step matters more than you think. It makes the final result look clean and safe to handle.
Step 3: Assemble the Holder
Attach the sides to the bottom piece first. Then secure the back panel.
You can use:
- Screws for a stronger hold
- Nails for a quicker build
Make sure everything is aligned before tightening.
Step 4: Paint or Stain (Optional)
This is where you can add personality.
- Use white or neutral tones for a clean look
- Try bold colors for a pop on your wall
- Go with natural stain if you like a rustic feel
Let it dry fully before moving on.
Step 5: Mount It on the Wall
Pick a spot that’s easy to reach. Near your desk or entryway works best.
Use:
- Wall anchors for drywall
- Screws into studs for extra strength
Double-check that it’s level before tightening everything.
Step 6: Organize Your Files
Now comes the fun part. Sort your papers into categories like:
- Bills
- Work documents
- Notes or reminders
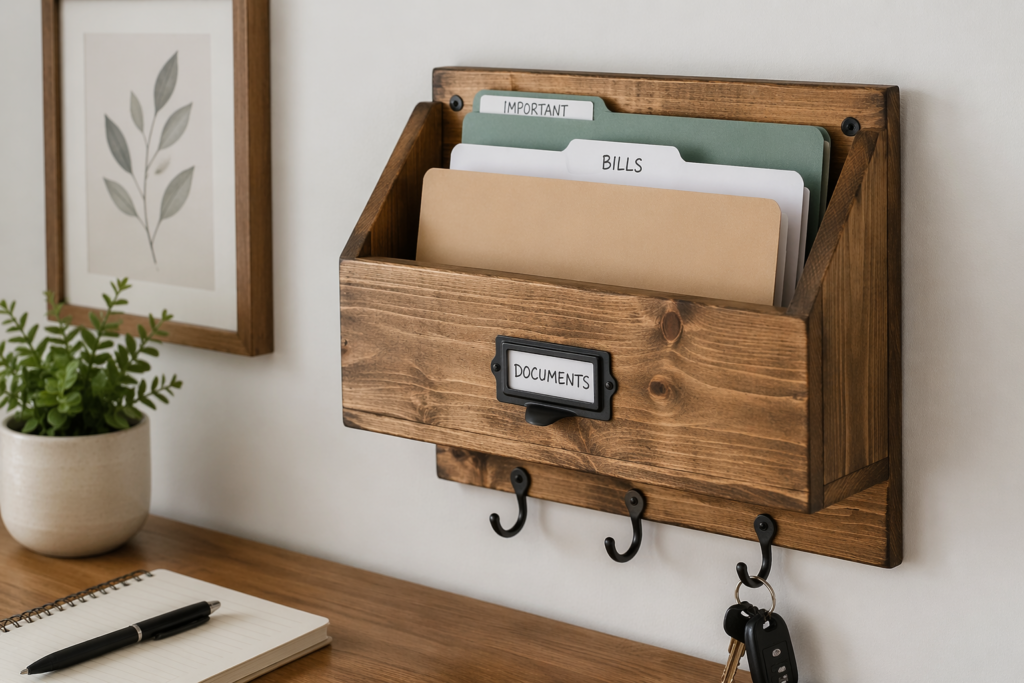
You can add labels if you want to make things even easier to find.
Extra Ideas to Make It Better
If you want to take it up a notch:
- Add multiple slots for different categories
- Attach hooks underneath for keys or small items
- Install a small chalkboard or corkboard on the front
Small touches can turn a simple holder into a full wall organizer.
Final Thoughts
A wall-mounted file holder is one of those small changes that makes a big difference. It clears your space, keeps things tidy, and saves time when you need something fast.
You don’t need to be an expert to build one. Just take it step by step, keep it simple, and make it your own.
Once it’s up on your wall, you’ll wonder why you didn’t do it sooner.